Please view the instructions below to install LS Fabrication’s Billet Door Handles — 73-87 GMC Chevy Truck! We look forward to seeing all of your installs on your classic square body truck.
Included Parts List
- (1) Driver side door handle
- (1) Passenger side door handle
- (2) Buttons
- (2) Clear gasket sets
- (2) Roll pins
- (2) Cam return springs
- (1) Handle cutout template
- (4 sets) Handle hardware — note: flat washers may not fit on all vehicles depending on the outer door seam.
Install Steps
- Remove the interior door panel.
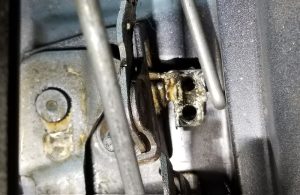
- Access the interior handle. For easier access, remove the interior door handle clip and rod.


- Remove the exterior handle. Remove the exterior door handle clip and rod in order to remove the handle.
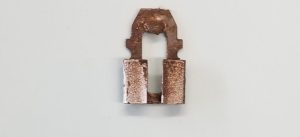
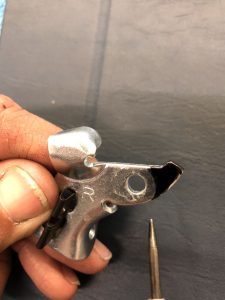
- Remove the factory roll pin. Remove the factory roll pin from the factory door handle in order to remove the lever.

- Trim for clearance if needed. In some cases it might be necessary to trim part of the factory lever for clearance (see shaded area in photo).
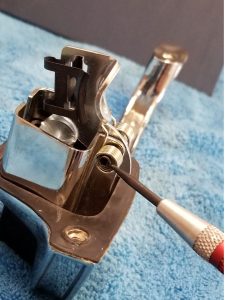
- Install the factory lever. Using the new roll pin and spring provided, install the factory lever into the new billet handle.
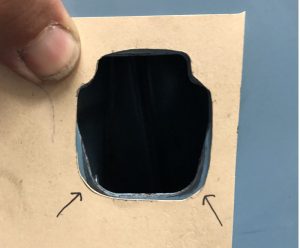
- Cut the button opening. Using the template provided, remove material from the door skin to allow fitment of the new, larger button area. This can be done with a rat tail file or a Dremel tool.

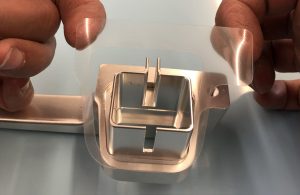
- Apply the gaskets. Stick the clear gaskets provided to the back of the billet handle.
- Install the billet handle. After installing the rod through the factory lever, install the new billet handle and attach the rod to the latch assembly.
- Test before final assembly. Test the handles for proper operation prior to installing door panels and trim.
For any questions or concerns with your install, don’t hesitate to email us at info@ls-fab.com
0 Comments