









Chevy truck customization on a 1947-1953 Advance Design cab usually stalls at the dash. If you want to revamp your truck with parts that do it justice, but you find nothing but mass-produced stainless-steel pieces, then LS Fabrication Ltd. can help. We’re Kris Hauser and Chris Lange, two friends who restore vehicles and the founders of LS Fabrication.
We found ourselves without options while reviving Kris’ 1951 classic Chevy/GM 3100. So we put our combined knowledge and engineering know-how to work. As a result, we created the custom Chevy truck parts we were looking for, and we discovered a wide audience of like-minded vehicle owners.
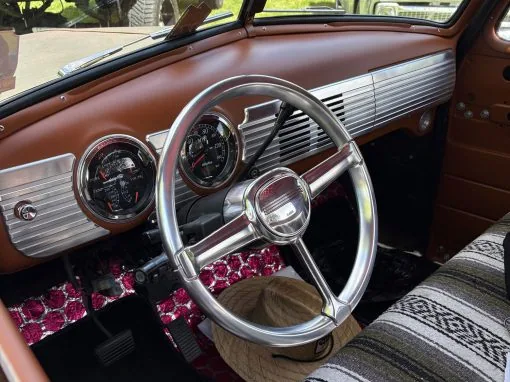
With billet-milled 6061 aluminum custom parts — including a 47-53 speaker grille and glove box door, a cab-spanning phantom-style dash, and a Chevy truck double din dash that brings nav and sound systems up to date — Advance Design Chevy truck owners can get a quality centerpiece for the interior of their classic truck.
Chevy truck customization, taken to the next level
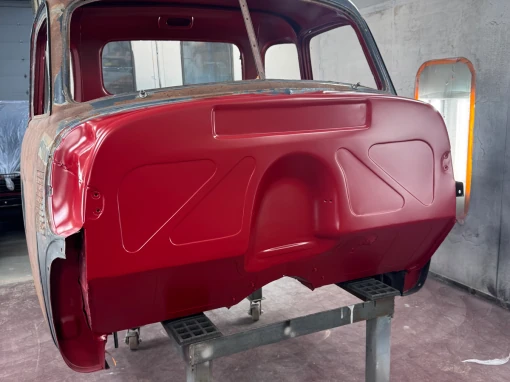
So, there you are. You’ve spent years and piles of dollars turning your classic Chevy/GM Advance Design pickup into a worthy vehicle for the modern road. Maybe your dream project still has the original 3100 inline-six. Or maybe it now sports a modded 350 V-8 with modern fuel injection. Either way, it has all five windows, bead-rolled kick and door panels, a custom firewall, and upgraded suspension with precision welding.
It’s hard to find a quality 47-53 Phantom dash replacement that makes a statement and sets off the Chevy’s classic cab. Typically, the only options are production-line stamped replacements with painted-on lettering and a basic finish. They fall short of the detail many builders put into their project.
A CNC-machined dash replacement, faithful to the original and built by dedicated craftsmen, adds the final finish without betraying the truck’s original design. Your restoration may suit a factory-reproduction billet glove box and speaker grille. Alternatively, it may call for a sweeping phantom-style dash that spans the width of the cab. Either way, precision-machined custom Chevy truck parts are the final touch that completes the vision. See our full 47-54 lineup lineup.
Custom 47-53 Glove Box Door & Speaker Grille
We CNC-machine these replacements from 6061 billet aluminum, so they are not run-of-the-mill parts stamped with painted script. Billet-machined parts beat stamped parts in appearance, sturdy design, and individual craftsmanship. The speaker grille cover also has a deleted ashtray for an updated look. In addition, our machined dash pieces can include custom engraving for an additional charge.
The package includes a factory-reproduction billet glove box door and billet speaker grille that match the original factory mounting exactly. It also includes all necessary stainless steel hardware and a latch for the door. Also, these pieces are currently the only option for replacing right-hand dashes in Australia and New Zealand.
Custom 47-53 Chevy Truck Double Din Dash
Maybe you want a more modern design that moves the original center-dash radio down for a double din touch screen or GPS unit. If so, this panel will accommodate it. The package includes a 6061-aluminum billet-milled 47-53 glove box door and a specially formatted double din speaker grille. It also includes a Pioneer ADT-VA133 installation kit for double din receivers, a stainless-steel glove box latch by LS Fab, and all required hardware.
Custom 47-53 Phantom Billet Dash
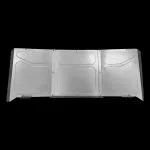
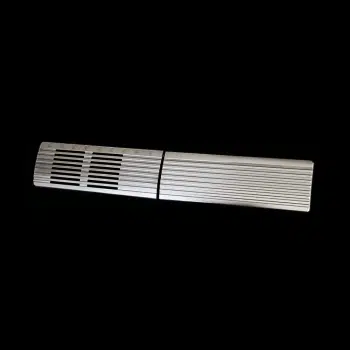
This is a complete array of parts that spans the dash from end to end, with the distinctive horizontal lines of phantom styling. Together with the double-pane windshield and the center post, the view recalls the classic DC-3 workhorse of the skies from the 1940s. In short, it is an impressive display of gauges, speaker grille, and glove box.
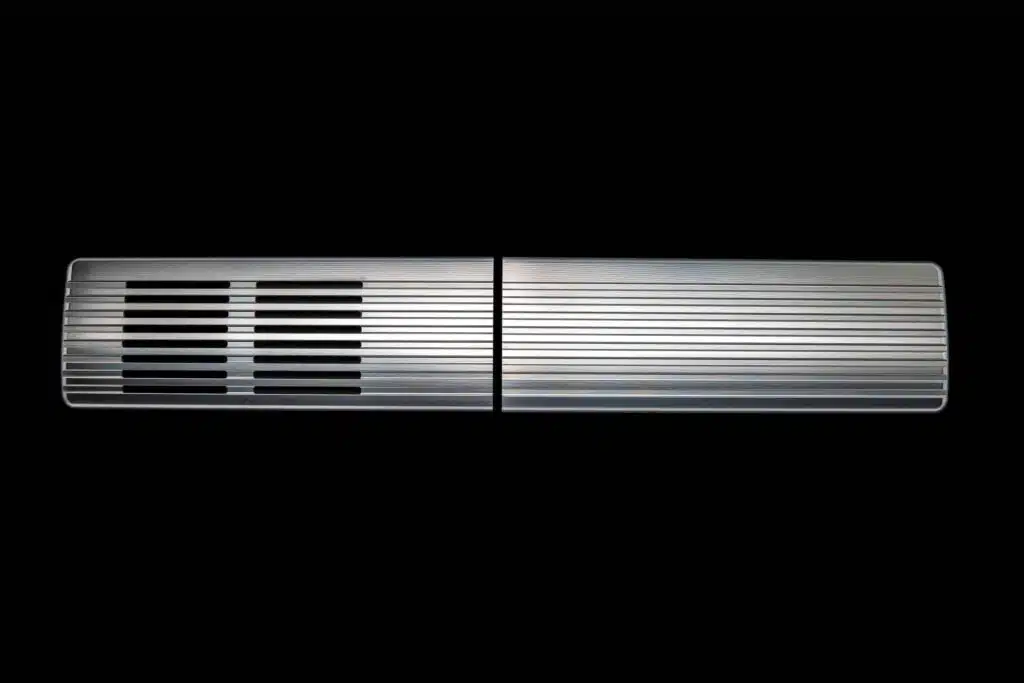
The CNC-machined 47-53 billet dash has a machined finish and comes from sturdy 6061 aluminum billet, with no ashtray in the extended speaker grille. It includes a driver-side dash piece and a gauge split piece that covers the indent from the factory offset column. This arrangement requires a drop column.
Shop This PartThe set includes all installation hardware along with a stainless-steel glove box latch. The two new pieces on the left side require four holes drilled in the dash. However, complete templates and instructions assist with installation.
Chevy truck customization made easy to install
Both the Chevy truck billet glove box/speaker grille installation and the Chevy billet dash installation come with step-by-step instructions and photos. They also come with all the hardware, so installation is simple. The full photo walkthroughs are in our grille and glove box install guide and Phantom dash install guide.
Installation for the 47-53 Speaker Grille and Glove Box Door Set
Hardware Installation
- Remove the speaker grille and flip it to see the reverse side.
- Remove the supplied hardware from its bag.
- Use the supplied Allen keys to thread the #8 stainless steel studs into the grille’s four corners.
Speaker Grille Installation
- Install the new grille in the original holes, letting the studs slide in. Take care not to scratch the dash.
- Reach behind the placed grille to finger-tight thread the provided #8 nuts.
- While there’s room for adjustment, the best time to check is after installing the glove box.
Glove Box Installation — this is a delicate operation; take care when closing the door to keep track of the top portion of the latch.
- Hold the billet glove box door open and move the hinges to the mounting holes.
- Carefully thread the #8 3/8-inch screws with a Phillips-head screwdriver, starting at the lowest hinge position before tightening.
- Carefully inspect all painted areas before slowly closing the door, avoiding any rubbing, binding, or contact with the dash.
- Adjust the hinge up/down, in/out, or left/right to resolve any issues. Also, check the latch clearance as you close, because the latch passes very close to the top of the door and may need adjustment.
- Once rubbing or binding is resolved, align the speaker grille to match the level of the glove box, using 8 screws total.
- Take extra caution each time you close the glove box to check for misalignment. Then tighten the hardware and remove fingerprints or tape once the alignment is right.
There are differences between each truck. However, patient work and the supplied pictures will have the pieces installed nicely in minimal time.
Installation for the 47-53 Phantom Billet Dash
Again, deliberate progress and reference to the images will get you there. Use the installation templates provided for the phantom billet dash on the product page.
Phantom dash hardware
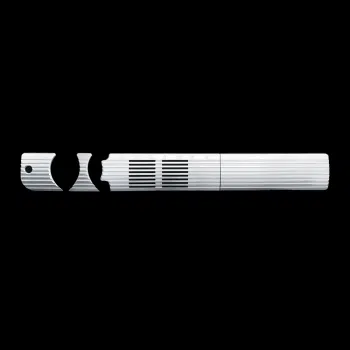
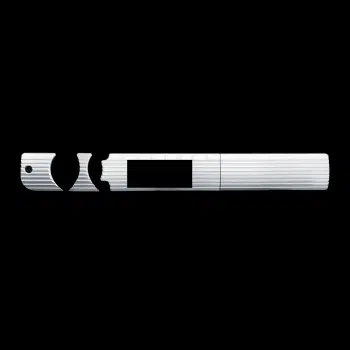
The two phantom gauge pieces come with a set of two 1-inch #8 set screws and a set of two flange nuts each. The gauge piece needs a top and middle set screw. Meanwhile, the piece surrounding the light switch needs a bottom and top set screw.
Phantom dash templates
- After printing, check the print size by measuring the 4-inch and 6-inch scale lines on the page.
- Take care when cutting out templates 1 and 2, using template 1 first and template 2 second.
Template 1
The first sheet, Template 1, guides placement of a masking-tape crosshair over the left-side gauge so the second sheet aligns perfectly:
- First, cut out the gauge circles. Then align them with the gauge holes on the dash piece and hold them in place with a small length of tape.
- Next, construct crosshairs horizontally and vertically, intersecting at the template’s center point, about 2.6 inches from both sides. Avoid curving or curling the tape.
- The template can stay on, or you can remove it and leave the tape behind.
Template 2
After that, Template 2 determines hole placement for the phantom dash pieces:
- Hold and adjust the paper with a small length of attached tape, aligning the horizontal and vertical lines exactly with the taped crosshairs.
- With the set screws inserted in the phantom dash pieces, verify correct placement.
- Then start the holes with a ¼-inch bit, and step up in size while verifying fitment. Holes should be no larger than three-eighths inch. On completed trucks, the steering column may need to drop somewhat to permit bottom-center-hole drilling.
- Use a Q-tip to apply a copper coat or a bit of paint to complete holes made in pre-painted dashes.
- Finally, install the phantom dash pieces using the provided #8 flange nuts, and confirm the placement before tightening.
Send us your photos of the newly installed phantom dash. We hope everything from ordering and shipping to your new Chevy billet dash installation went exceedingly well.
Chevy truck customization on an enduring classic
The 1947-1953 Chevy/GM Advance Design truck is an enduring classic, and it is finding a new life on the modern road with billet custom parts that deserve a place on it. We’re here to provide a much-needed alternative to the standard mass-production material out there.
47-54 Custom Chevy Truck Parts by People Who Know
Kris Hauser and Chris Lange own LS Fabrication Ltd. The two friends established LS Fab in 2018 when they looked for those same options and found none. Kris Hauser, building out his 1951 Chevy truck 3100, knew what he wanted for a firewall. With no one willing or able to step up, Kris dropped off his truck with a talented friend, Chris Lange, who owned a bead roller.
The results far exceeded expectations. After sharing photos of the bead-rolled firewall on Kris’ Chevy truck, Kris and Chris discovered real demand for these custom Chevy truck parts, so they went into business. Their parts line then expanded into other eras and applications beyond bead rolling, including high-end billet aluminum machining. Today, LS Fabrication sends hundreds of shipments around the world.
Talk to us about your Chevy truck customization
At LS Fabrication Ltd., we’re dedicated to creating the best products and filling the gaps where the right parts either don’t exist or don’t meet the quality discerning owners expect. Thank you to everyone who has helped and supported us on this journey. Sign up for our newsletter at lsfab.com. Or give us a call to collaborate on your new truck ideas, so we can deliver the custom parts your 47-53 Chevy classic deserves.
Everything we build for the Advance Design trucks — bead rolled panels, billet dash pieces and the 3100 steering wheel — is in our 47-54 truck parts collection.
Chevy truck customization: tips from our shop
- First, settle on your gauge and stereo layout before you drill, because the dash pieces are cut to suit.
- Also, keep the protective film on the machined faces until the very last step.
- Then hang the glove box loose and align the grille to it, since that order gives the cleanest gap.
- However, do not force a screw. If a hole does not line up, back the hardware off and shift the piece.
- In addition, good Chevy truck customization is mostly patience, so give yourself an afternoon rather than an hour.
- Finally, clean the billet with a soft cloth only, because anything abrasive dulls the machined finish.
0 Comments