















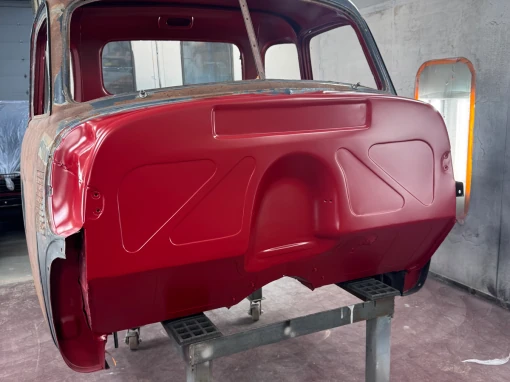



A Chevy truck firewall installation is one of the few sheet metal jobs that changes the whole look of an engine bay. When you’re restoring a vintage Chevy truck, the firewall deserves your attention. This critical part separates the cab from the engine. It reduces engine noise, keeps fumes out of the cab, blocks heat, and offers protection in case of an engine fire. It can also be a feature piece for your custom pickup, because a Bead Rolled Firewall from LS Fabrication looks the part.
Whether you’re rebuilding the whole truck from the ground up or just replacing the engine and a few body parts, a bead rolled firewall or shaved firewall from LS Fabrication is a great choice. We’re passionate about creating precision parts made to last. In other words, a durable Advance Design firewall that performs like the original but looks far more custom.
Types of Sheet Metal Firewall We Offer
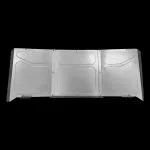
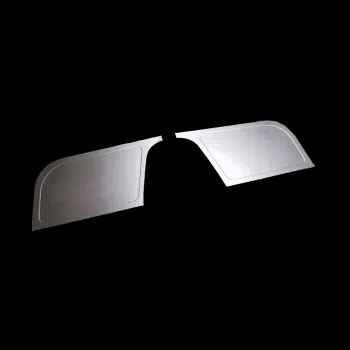
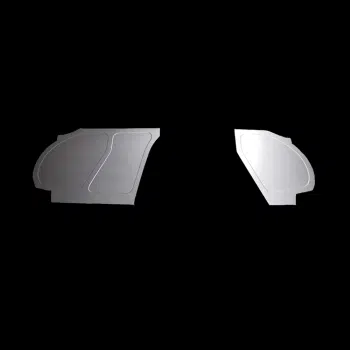
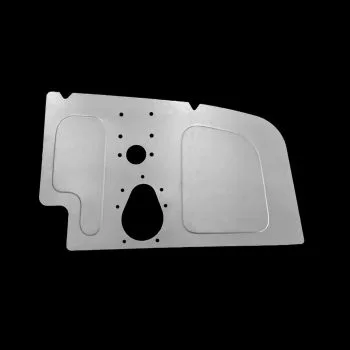
We offer four bead rolled firewall styles: the Kalinda, Tracy, Holly, and DeeDee. The Holly and DeeDee have two bead rolls, and the Tracy and Kalinda have one. We also offer a blank or smooth firewall for a simpler shaved look.
Why You Should Install a Custom Firewall
Instead of filling all the little holes in your stock firewall, we recommend a custom bead rolled one from LS Fabrication. When you’re customizing other parts, it makes sense to do the same for the firewall in your engine bay. It cleans up the look, and it gives you a custom finish worth showing off.
How Our Advance Design Firewall Can Enhance Your Chevy/GMC Truck
An LS Fabrication custom firewall saves time versus welding up the many factory holes in your GM truck. There are no hours spent welding just to get a factory-looking result. Instead, you can move straight to replacement and end up with a much cleaner, custom look.
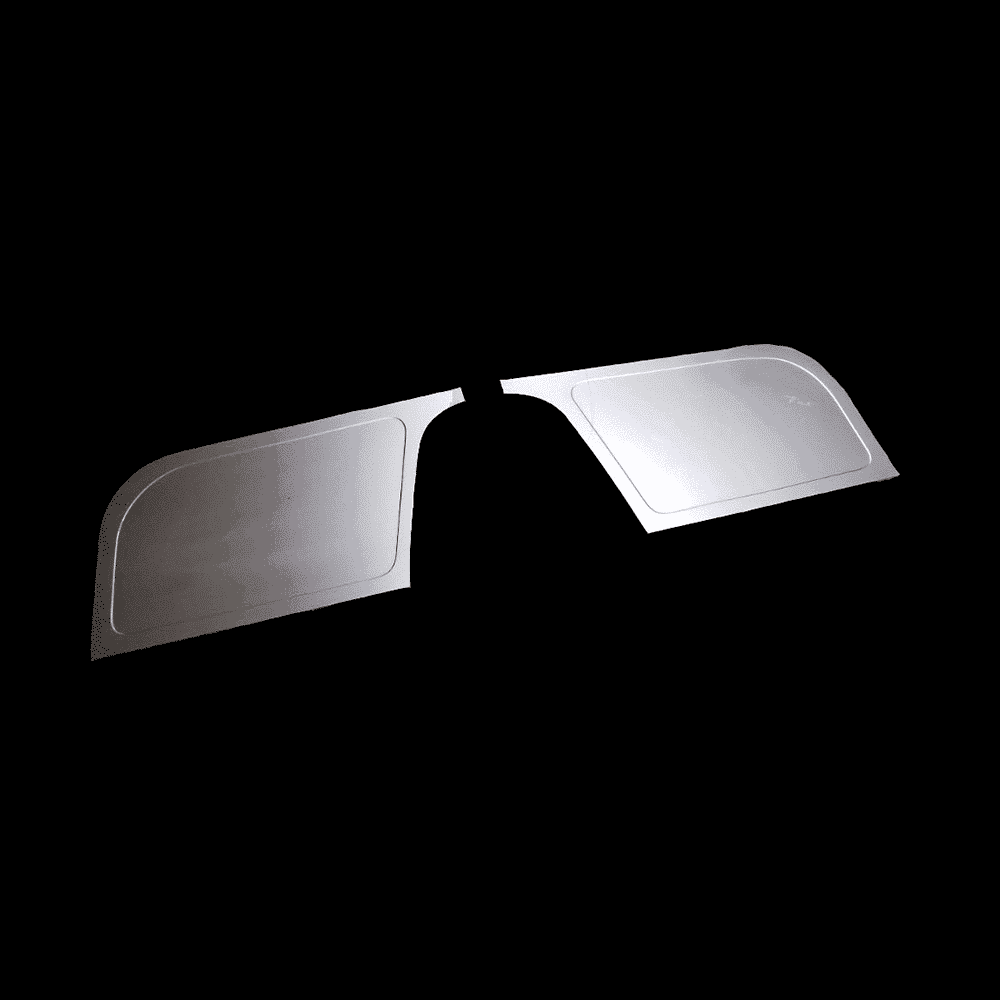
Laser-cut from 18-gauge cold-rolled steel — available in Kalinda, Tracy, Holly, DeeDee, or a blank smooth style for a clean, custom engine bay look.
Shop This PartWhat Makes Our Bead Rolled Firewall Options Different?
We laser-cut our sheet metal firewall products from 18-gauge cold-rolled steel. As a result, every curve, angle, and cut is accurate every time, and the install is as easy as possible.
What You Need to Install Our Advance Design Firewall
You’ll need a welder and an angle grinder with a flapper wheel. Also, have a 5/16-inch drill bit, a permanent marker, masking tape, bolt and wire cutters, and a screwdriver ready.
Chevy truck firewall installation options
Most customers do a welded installation after removing the old firewall. Some weld directly onto the factory 3100 firewall to save time. Other options include screws, rivets, or magnets. You can also spot-weld from the backside or panel-bond the piece onto the truck’s body. We recommend removing and replacing the old factory firewall, but the method is up to you.
Chevy truck firewall installation steps
- First, prepare the truck. Remove any loose wires, brackets, braces, screws, or bolts from the cab side and outside wall. There should be nothing that could ignite when you weld the new sheet metal to the body.
- Next, place the filler panel. Place it on the outside of the 3100 firewall and check the fit. Then use a permanent marker to trace along the filler’s edge onto the existing firewall on both driver and passenger sides. Use an electric grinder with a cutoff disk to remove the factory firewall, cutting inside the reference line by about ½″. Masking tape helps keep the spacing consistent.
- Keep the braces. Don’t remove the braces from the back side of the firewall. Simply separate them from the piece you are cutting out, and leave them in place to support your new bead rolled firewall.
- Then drill the weld spots. Use a 5/16-inch drill bit to drill out the spot welds along the firewall edges that attach the sheet metal to the braces. This separates the braces from the firewall so you can remove it from the truck.
Fit and weld the new panel
- Create a lip. The ½″ of metal left around the old firewall functions as a lip for the fillers to rest on during welding. Use a grinding disk or abrasive tool to remove old paint, rust, or grease, because the surface needs to be clean for welding.

- Next, align the panel. Put the filler panel into the opening where the old firewall was. Adjust it until it lines up with the top and outside edges, and use magnets or clamps to hold it in place.
- Trim excess material. The two fillers may need some trimming down the middle of the firewall where they meet. About 1″ of material will be left, and removing most of it gives a clean, sleek look.
- Then tack weld. Once you are satisfied with the placement, tack weld at 1-inch intervals to minimize warping. Move side to side to avoid overheating the panel.
- Finally, grind the welds. Grind down the welds to eliminate jagged edges and shards, and to show where you need more tacks. Once cool, clean the panel. Your truck is now ready for any additional body work.
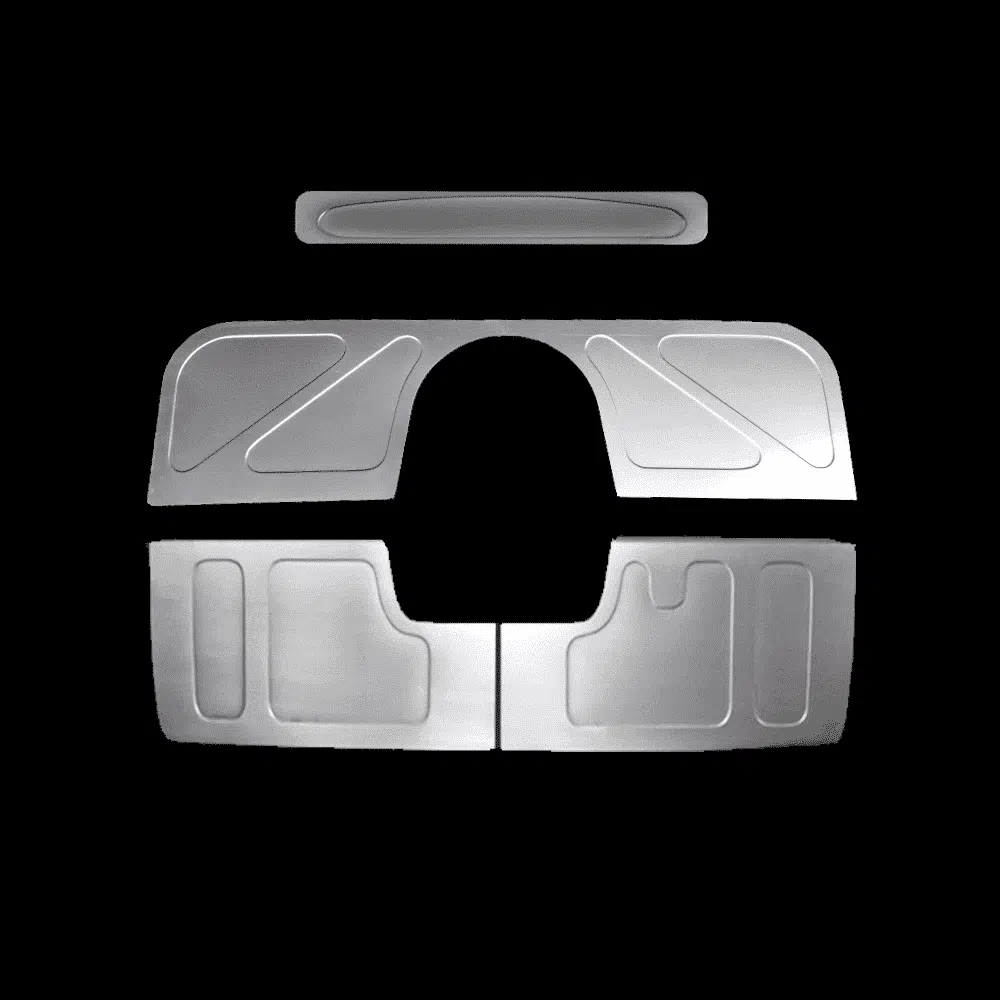
At LS Fabrication, we want your custom sheet metal firewall installation to go as smoothly as possible. Precision matters, and we make every product with ease of install in mind for the DIYer or the pro. We’re available by email or phone to assist at any point during your installation.
The shorter filler panel versions of this job are in our 1947-54 firewall filler guide and 1955-59 firewall filler guide. We cut firewalls for a specific cab rather than trimming them to fit, so start from your generation — browse classic truck parts by year to find the panels made for your truck.
Parts used in this guide
 Bead Rolled Firewall - 47-54 GMC Chevy Truck$99.99Shop this part
- Bead Rolled Firewall - 55-59 GMC Chevy Truck$99.99Shop this part
- Bead Rolled Firewall - 60-66 GMC Chevy Truck$99.99Shop this part
- Bead Rolled Firewall - 73-87 GMC Chevy Squarebody C10 Truck$99.99Shop this part
- Bead Rolled Firewall - 67-72 Ford F100 Truck$69.99Shop this part
0 Comments