



















How our kit turns a 1967-1972 Ford F100 long bed frame into a short bed: templates, C-channels and hardware.
The video above follows a long bed to short bed conversion with our shortening kit for the 1967-72 F100. In The Garage Media filmed it for Classic Truck Performance, and it is the clearest look at what the job takes before you commit to it.
What the F100 frame shortening kit does
In short, the F100 frame shortening kit turns a long bed chassis into a short bed chassis without freehand measuring.
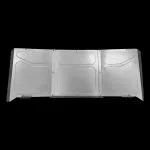
Shortening a frame by hand means measuring, marking and cutting two rails identically, then finding a way to join them that will hold up. This kit removes the measuring. The left and right steel templates bolt to the frame and show you exactly where to drill and where to cut. Then the two laser-cut C-channels reattach the shortened sections with the hardware supplied. As a result, a job that takes an experienced fabricator days becomes an afternoon with a drill, a saw and basic hand tools.
What is in the kit
- Left and right steel templates for drilling and cutting
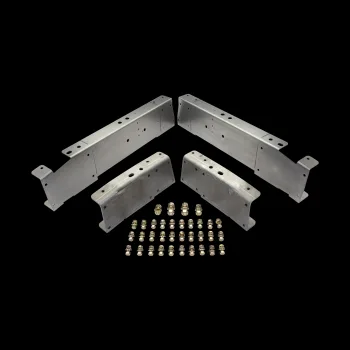
- Left and right laser-cut C-channels to reattach the shortened frame
- All the hardware needed to bolt the frame sections together
- Template instructions, including how to modify the rear of the frame to mount a short bed bumper
What the F100 frame shortening kit job involves
- First, get the truck level and stripped. The bed, the rear bumper and anything crossing the area you are cutting have to come off before you start marking the rails.
- Bolt the templates to the frame. One per side, located off existing frame holes so both rails end up identical.
- Next, drill and cut to the template. The template carries the hole positions and the cut lines, so you mark the rails rather than measure them.
- Then bolt the C-channel in. The channel spans the joint, and the supplied hardware draws it up and pulls the two frame halves back into line.
- Handle the rear of the frame. The template instructions cover the modification needed to mount a short bed bumper.
- Finally, weld the C-channel in. The bolted joint is solid enough to move the truck, but welding is what makes it structurally sound for the long term.
The kit includes hardware to bolt the frame sections together, and that is enough to get the truck to a shop under its own weight. However, long-term structural rigidity comes from fully welding the C-channel. If you do not weld, budget for a local welding or muffler shop to finish it.
Work to the printed instructions and templates supplied in the kit for the exact drill sizes, hole positions and cut lines for your truck. The steps above are an overview of the job, not a substitute for them.
Once the frame is short, the Ford taillight fuel filler guide covers the next common bedside job. More parts for the same trucks are in our 67-72 Ford truck parts collection.
For any questions or concerns with your install, don’t hesitate to email us at support@lsfab.com
0 Comments