













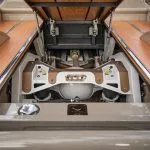
1967-1972 Ford Truck / 1966-1977 Ford Bronco
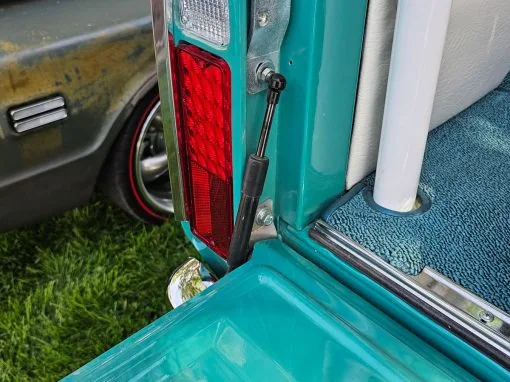
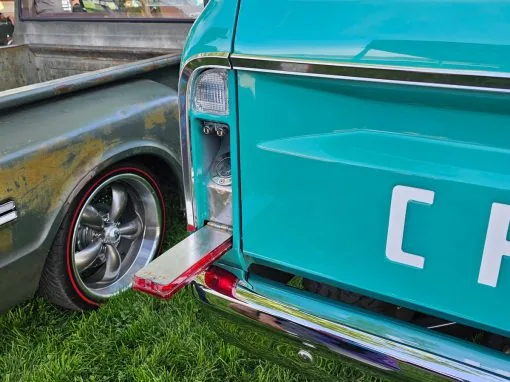
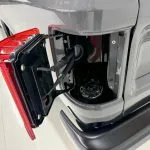
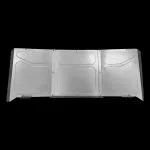
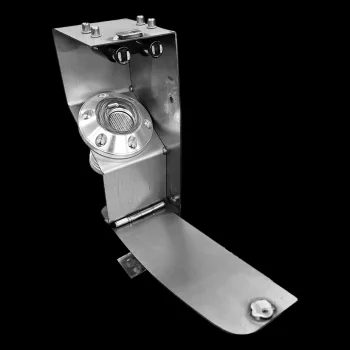
The Ford taillight fuel filler hides the gas cap behind a hinged taillight. The filler bucket kit for 1967-72 Ford beds moves the filler neck behind the taillight on a 1967-1972 Bumpside F-Series or a 1966-1977 Bronco. It is a bolt-in bucket with a hinged taillight, so there is no welding. First, read the notes below, because the taillight type matters. Then work through the fourteen steps in order.
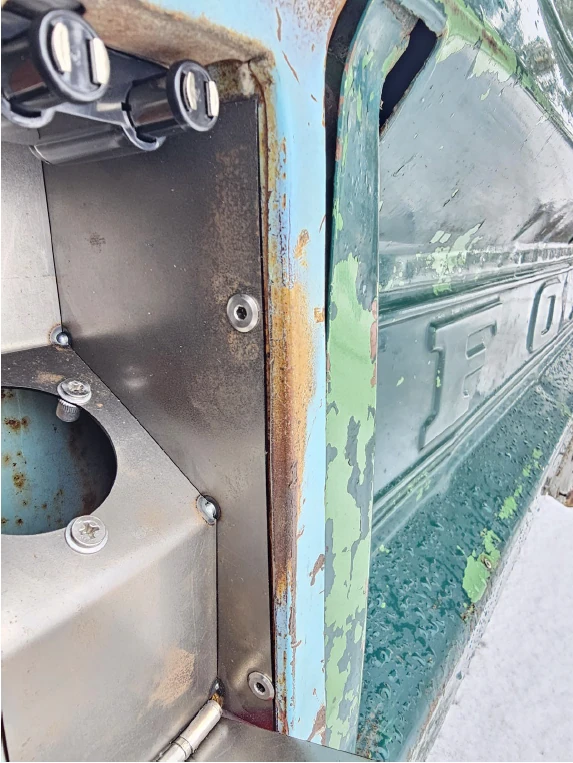
- First, test-fit before paint, bodywork, powder coat, or final plumbing.
- You need flat-back LED taillights, because deep factory-style housings can interfere.
- The kit does not include fuel hose, clamps, or tank venting, so use fuel-rated parts only.
- The tank must have its own proper vent. This filler does not vent the tank.
- Disconnect the battery and keep sparks/open flame away from fuel vapours.
Tools for the Ford taillight fuel filler install
- Drill and bits
- Air saw or body saw
- Small grinder / 3 in. zip disk
- Marker or punch
- Basic hand tools
- Safety glasses and gloves
Ford taillight fuel filler install steps
- First, remove the taillight. Take the taillight off the side you are using. Then disconnect the wiring and clean the taillight pocket.
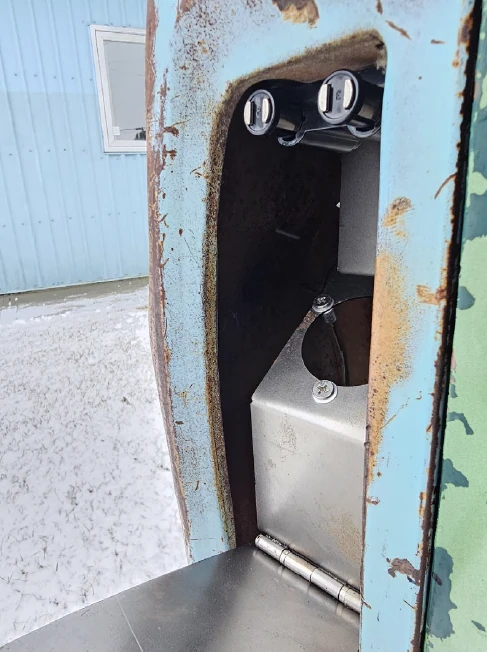
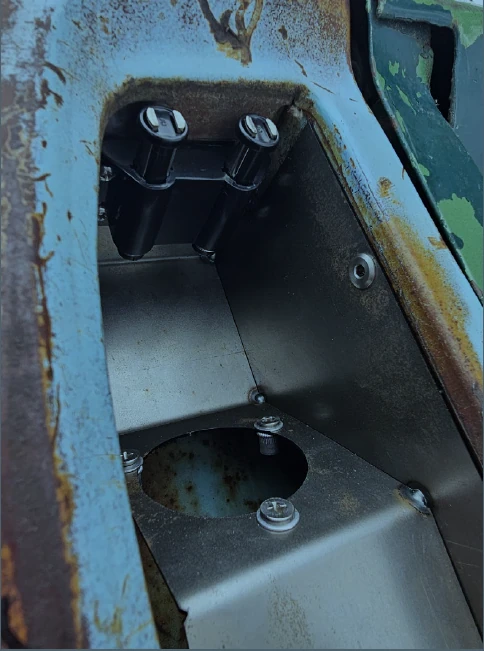
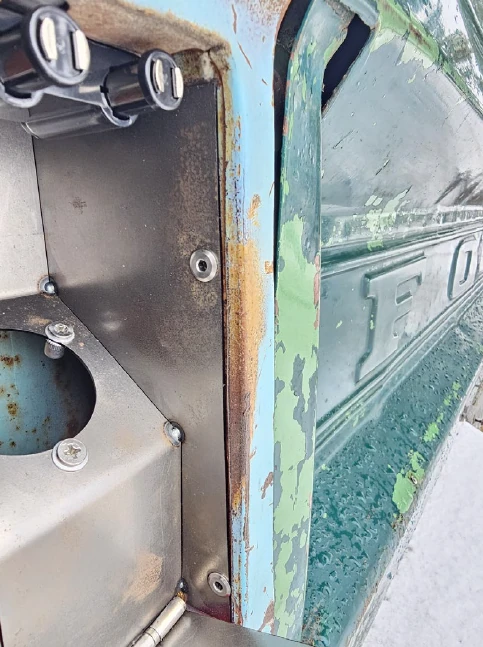
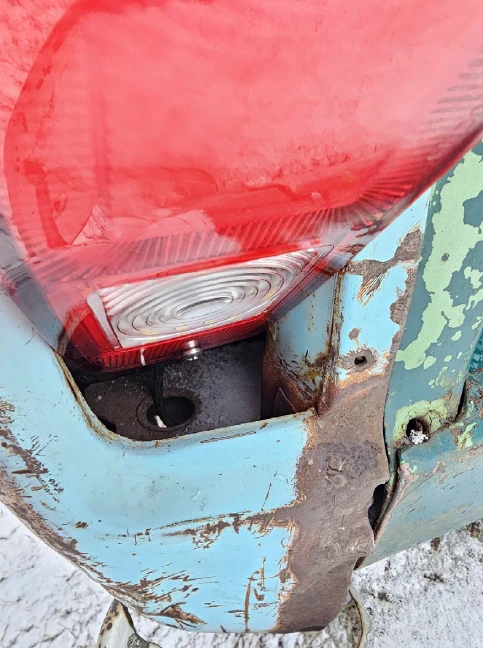
- Next, remove the surrounding flange from the taillight opening. Reference the photos below.
- Do not remove the upper flange fully. Just remove the vertical mount with the hole where the factory taillight housing mounts. Reference the photos below.
- Then trim the upper inside brace if needed. In the upper corner, there may be a brace from the stake pocket to the bedside. Trim only enough for the filler bucket corner to sit flat.
- Trim carefully. A 3 in. zip disk on an air line fed up through the bottom of the box works well for the brace area. Finish the remaining cut with an air saw.
- Also, keep the top tab. The top tab is the only part of the original box panel tab that remains. Use it for the top mount.
Mount the bucket and the taillight
- Next, test-fit the filler bucket. Set the filler bucket into the taillight opening. Do not drill or tighten anything yet.
- Mark and drill the top mount. With the filler sitting flat, transfer the top hole location to the panel. Drill the hole and deburr it.
- Then attach the side mounts. Install two shallow screws along the side. Make sure the screws do not hit the filler, hose, wiring, or taillight.
- Install the hinged taillight. Mount the flat-back LED taillight to the hinge plate. Open and close it to confirm it clears and does not bind.
- After that, route the wiring. Leave enough slack for the hinge to move. Protect wires from sharp edges, the hinge, filler neck, and tire.
Fuel hose and venting
- Connect the fuel hose. Run fuel-rated filler hose from the filler neck to the tank. The fuel neck diameter is 1.5″. Avoid tight bends, high spots, exhaust heat, tires, and sharp edges.
- Also, vent the tank. Make sure the fuel tank has a proper vent/rollover valve setup. Do not rely on the filler as a vent.
- Finally, check for leaks. Add a small amount of fuel first. Check every connection for leaks, then re-check after the first drive.
- Every truck is a little different. For example, rust repair, replacement bedsides, bodywork, and aftermarket tanks can change the fit.
- Therefore, do all trimming and drilling before paint or final finish work.
- Also, only remove enough material for the filler bucket to sit flat.
Ford taillight fuel filler photo reference
Quick Troubleshooting
| Issue | Check |
|---|---|
| Bucket will not sit flat | Trim the upper brace only as needed. |
| Taillight binds | Loosen hardware and realign the hinge/door. |
| Fuel fills slowly or kicks off | Check hose slope, tight bends, and tank venting. |
| Fuel smell | Check clamps, hose routing, cap, and vent system. |
| Wiring rubs | Add slack, loom, and grommets where needed. |
Final Notes
- Use fuel-rated filler hose and clamps only.
- Then re-check hardware, clamps, hose routing, and wiring after the first drive.
- Shop this part: 67-72 Ford filler bucket kit
The Chevy version of this kit works the same way, and the 1967-72 C10 fuel filler guide shows the welded install. Bead rolled firewalls, billet hood hinges and frame shortening kits for the same Bumpside cab are in our 67-72 Ford truck parts collection.
For any questions or concerns with your install, don’t hesitate to email us at support@lsfab.com
0 Comments