











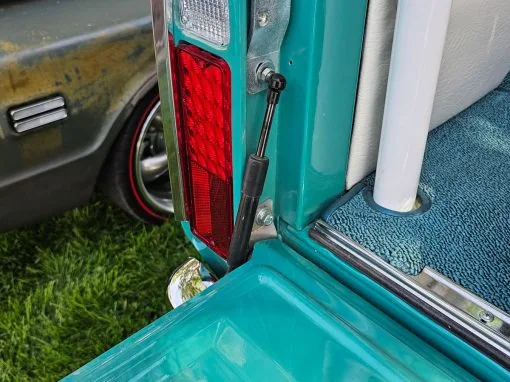
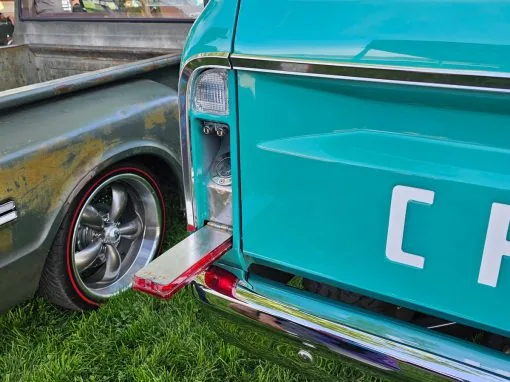
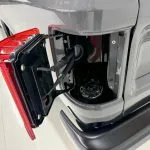

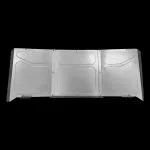

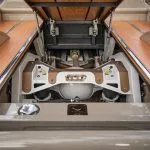
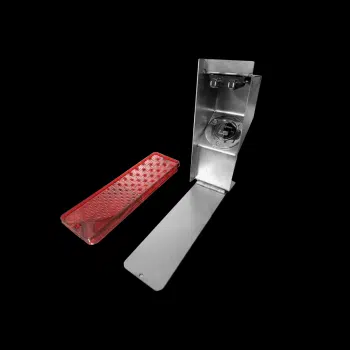
A hidden 1967-72 fuel filler puts the gas cap behind the taillight and leaves the bedside smooth. The filler kit for 1967-72 C10 beds moves the filler neck out of the bedside and behind the taillight, so the side of a C10 stays smooth. You weld the kit in, and the cut into the taillight pocket has to be right the first time. First, watch the video, because it shows every cut. Then follow the written steps and measurements below.
Tools you will need
- MIG welder and grinder
- Air saw or cut-off wheel
- Drill for the magnet, taillight and cap holes
- Tape measure, marker, hammer and dolly
Installation video
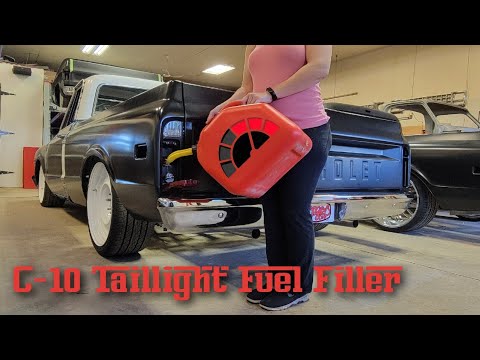
Watch the install video on YouTube if you want it full screen.
1967-72 fuel filler install steps
- First, prep and weld. The kit requires welding down both sides prior to install, plus drilled holes for the magnet placement, taillight mounting points, and fuel cap.
- Cut the taillight pocket. Once the kit is complete, cut the inner tabs in the taillight pocket.
- Mark the cut line. Measure 1.5″ from the bottom of the half circle inside the reverse light pocket — this is the top of the cut.
- Then cut down. Cut straight down on the left and right side all the way down, and remove part of the seal. Add two tack welds at the top and bottom of the rear seal where it meets the bedside, so the bedside cannot flex.
- Extend the cut. From the top of your cut line, cut 2.5″ deep and straight down.
Fit and weld the 1967-72 fuel filler kit
- Next, check clearance from below. Looking from the bottom/backside, there should be a large enough space for the whole kit (without the taillight) to install up from the bottom of the bedside into position, with enough room for the fuel hose. If it doesn’t fit, slight additional trimming may be needed.
- Trim the corners. Trim and dolly all four corners of the taillight pocket for clearance, so the taillight can pivot open.
- Set the depth. The kit should sit in 7/8″ deep, or the thickness of the taillight being used.
- After that, tack and test. Mark its location and tack each corner to test fit once the kit and taillight have plenty of room to function.
- Finally, weld it in. Once everything checks out, weld the entire perimeter.
The hidden filler is usually part of a wider rear-end cleanup, and the Squarebody fuel filler guide shows the same idea on the later trucks. Use fuel-rated hose and clamps only, and make sure the tank has its own vent. Inside box panel fillers, billet tailgate letters and trunnion kits for the same trucks are in our 67-72 C10 truck parts collection.
For any questions or concerns with your install, don’t hesitate to email us at support@lsfab.com
Printable instructions
The illustrated version of this guide, ready to print for the shop.
0 Comments