















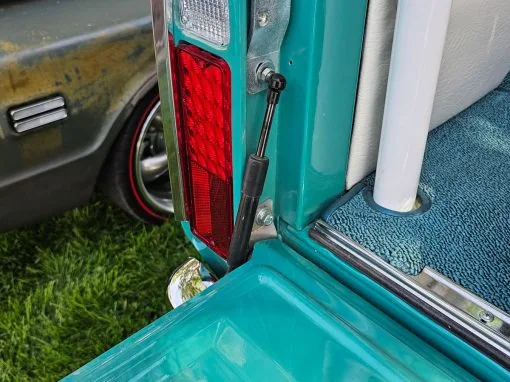
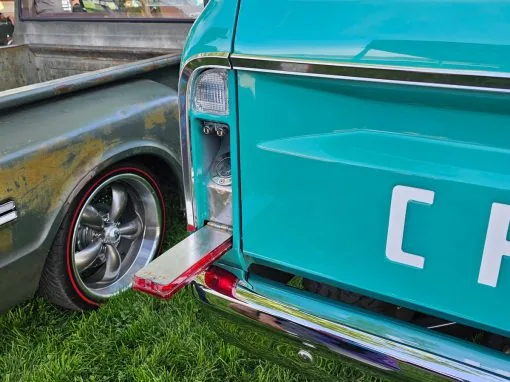
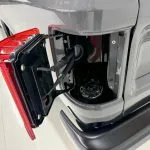

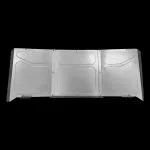

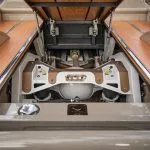
The Apicella Designs corner kit for 1947-54 beds rounds off the square rear corners of a 1947-54 bed, and the 1955-59 version does the same for a Task Force bed. This radius bed corners installation is a cut-and-weld job with body work at the end, so it suits a bed that is already apart. First, read the whole guide. Then mark, check the marks, and only then cut. Finally, expect to spend a weekend on it, because the welds need to cool between passes.
Tools you will need
- Straight edge ruler, tape measure and a marker
- Aluminum oxide cutoff wheel
- Spot weld cutter or Rotabroach, plus a carbide burr
- MIG welder, angle finder, clamps and grinding discs
Thank you for your purchase of the Apicella Designs 3100 Bed Corner Kit. Please read and review ALL instructions in this kit. Apicella Designs is not responsible for any personal or property damage deriving from the modification and/or installation of this product — all modification and/or installation should be performed by a professional.
Radius bed corners installation steps
- First, mark your cut lines. Start by marking your cut lines on your factory bed.

Figure 1 — completed marking, ready for cutting Two measurements: 1″ from the rear of the bed face, and 2 3/8″ from the rear of the bed face.

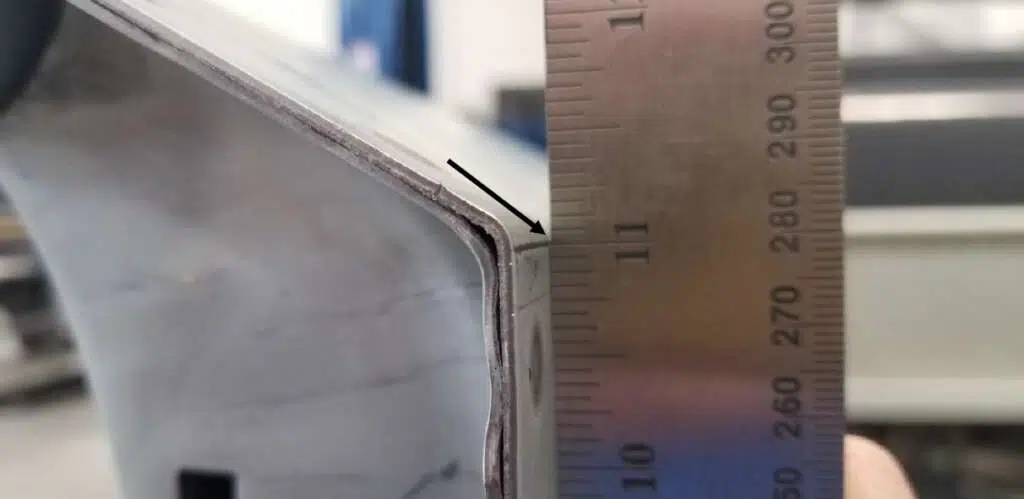
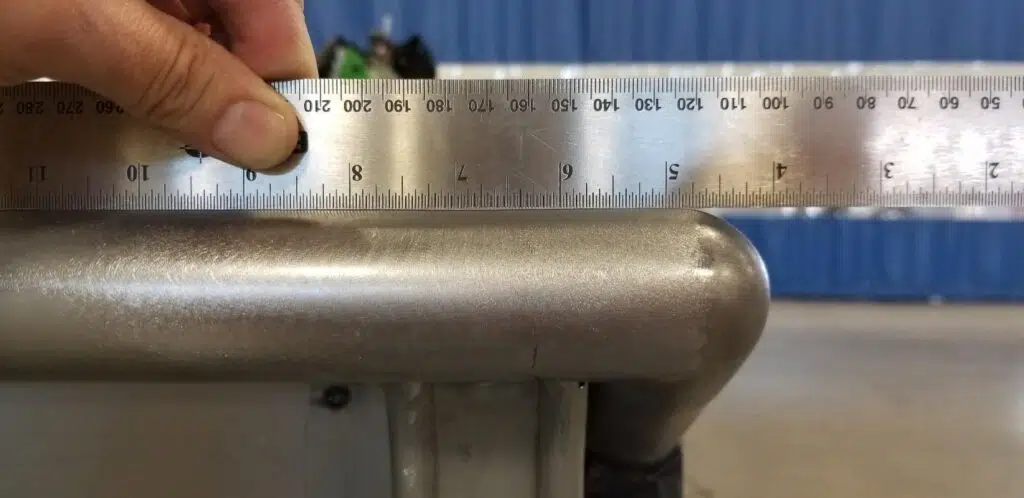
Figure 2 To locate the parallel cut lines on your bed side: use a straight edge ruler to see where the radius starts on your bed rail. Draw your parallel line across the bed rail where the radius starts to “fade away” from the ruler.
Figure 3 Do the same on your bed side — draw your parallel line where the radius starts to fade away from the ruler.
Figure 4 Your parallel line locations and the 1″ and 2 3/8″ lines should now be complete and ready to cut.

Figure 5
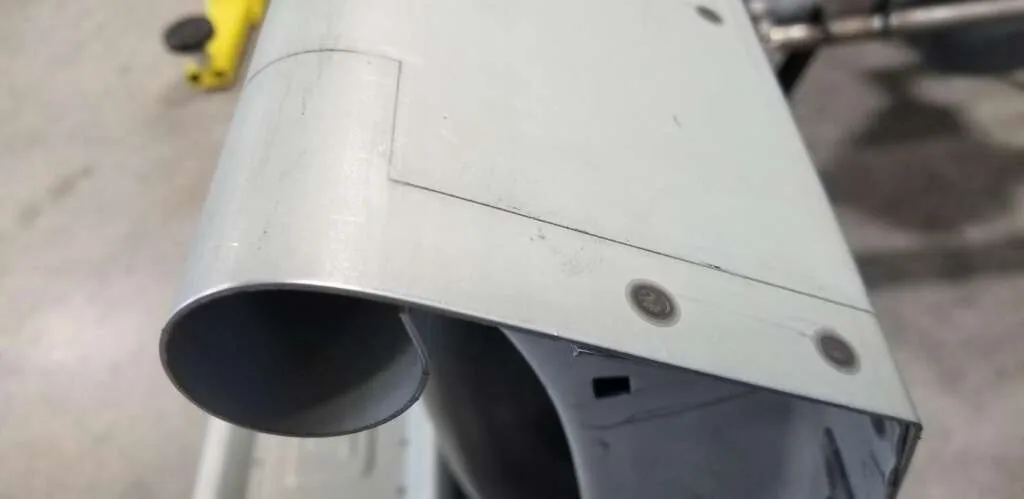
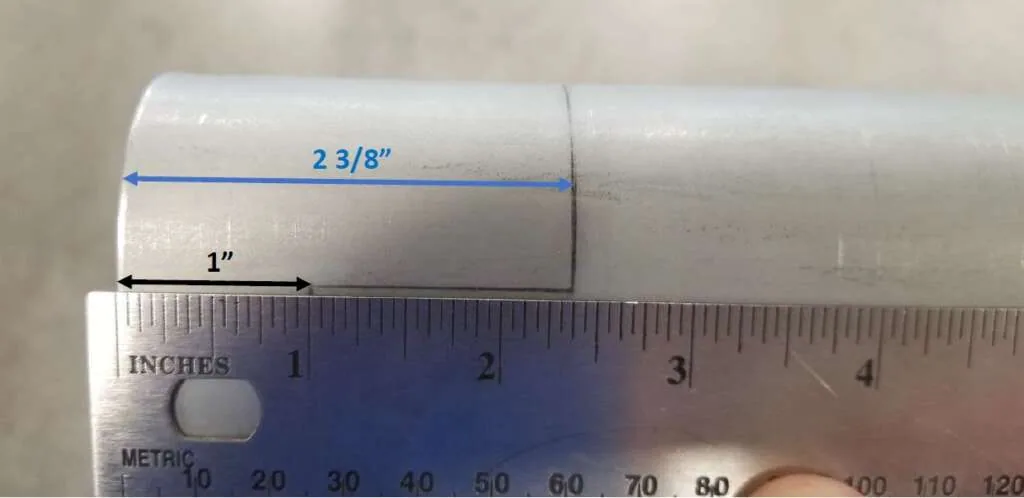
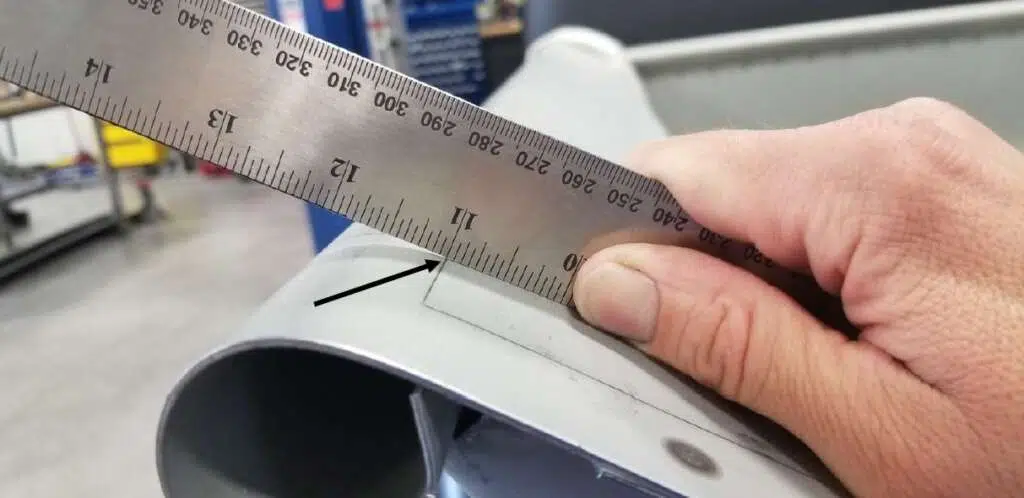
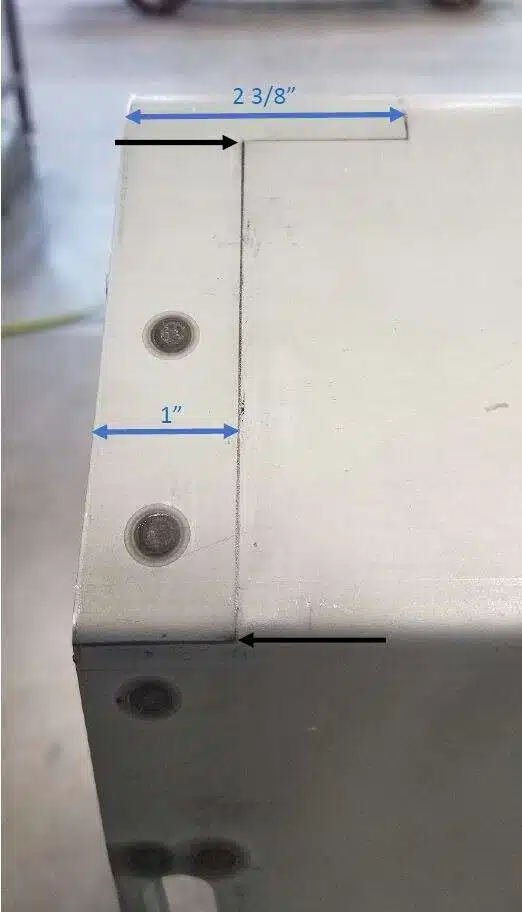
Double-check all measurements before moving to the next step. Double-checking assures the fit and finish of your Apicella Designs product. The customer assumes all liability for any modification to this product and/or the vehicle being modified.
Cutting the bed sides
- Next, cut the bed sides. Once you’ve double-checked your markings, it’s time to cut. Take your time and wear proper safety protection. Our bed sides were cut using an aluminum oxide cutoff wheel for a clean cut.
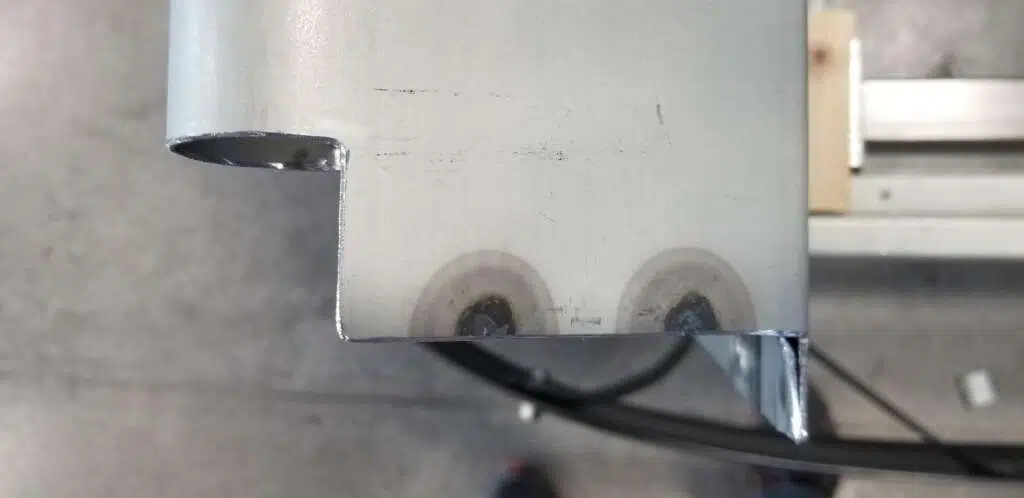
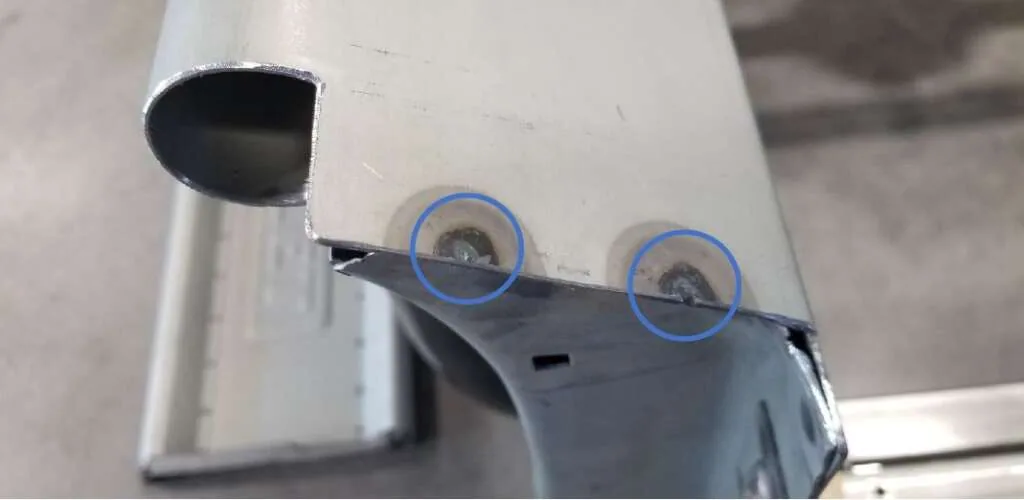
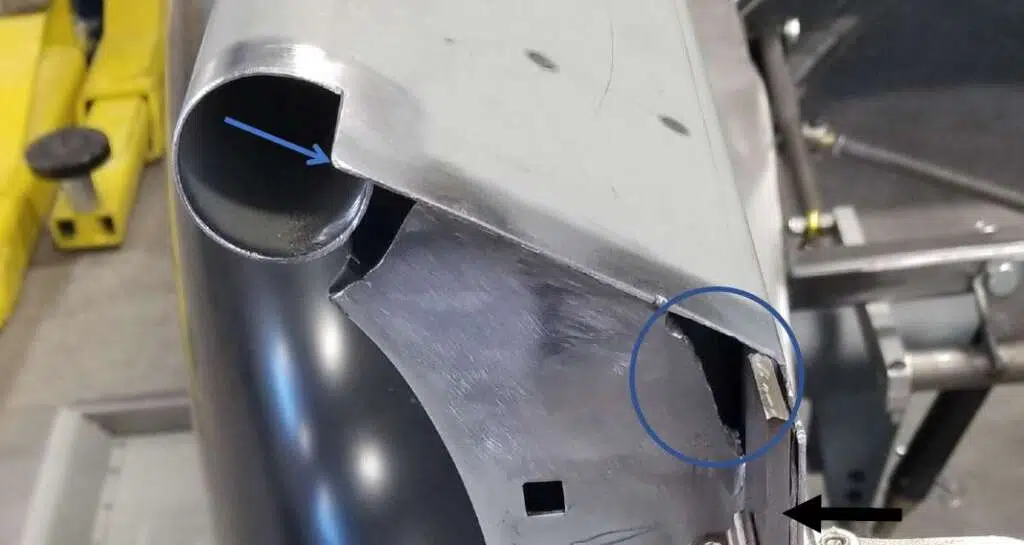
Figure 6 - Cut the spot welds. Using a spot weld cutter or Rotabroach, cut the two spot welds from the bottom (stake pocket) side — don’t cut completely through both layers, leave the top intact.

Figure 7 - Then trim for clearance. With the stake pocket free of the top skin, trim away excess metal from underneath so the new bed corners have adequate clearance — trim the bottom skin (stake pocket) back about ½″ into the stake pocket from your new edge. Remove additional stake pocket material with a carbide burr bit, and clean and deburr all edges.

Figure 8 Note: if you’re not adding a reinforcement feature to your bed sides, disregard any reinforcement shown in these illustrations.
Fitting and welding the radius bed corners
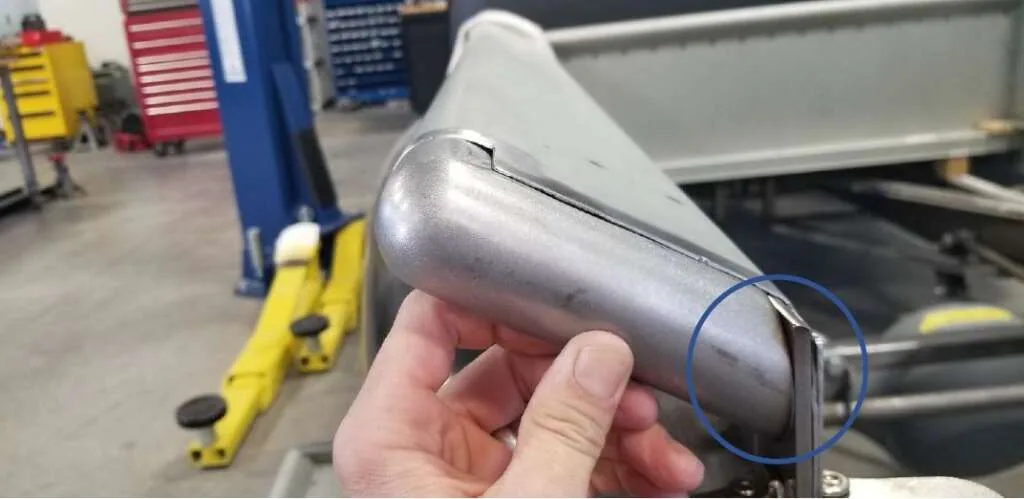
- Then fit the bed corner. Take your time fitting the new Apicella Designs bed corner. The short side is pre-cut to 2 3/8″, so trimming can be done on the bed side. The long side is left long for a custom fit — measure and cut a little at a time.
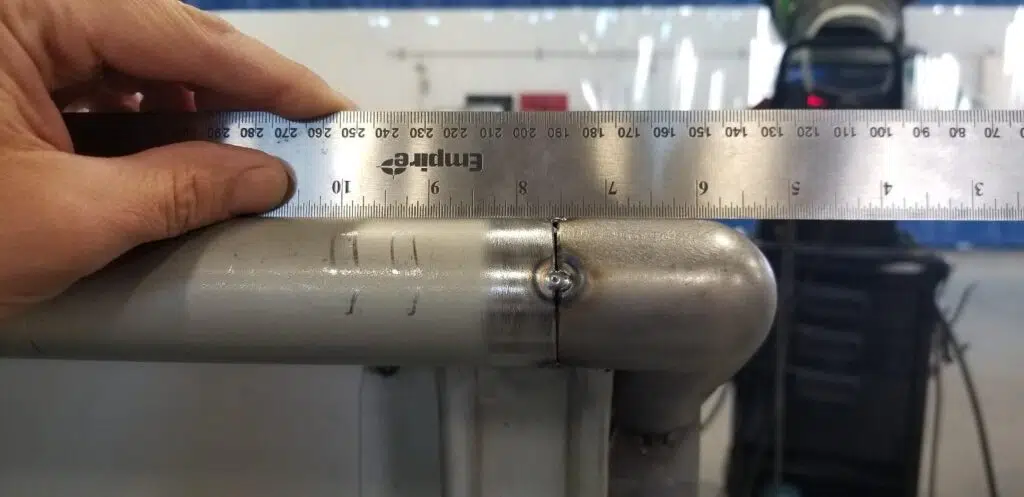
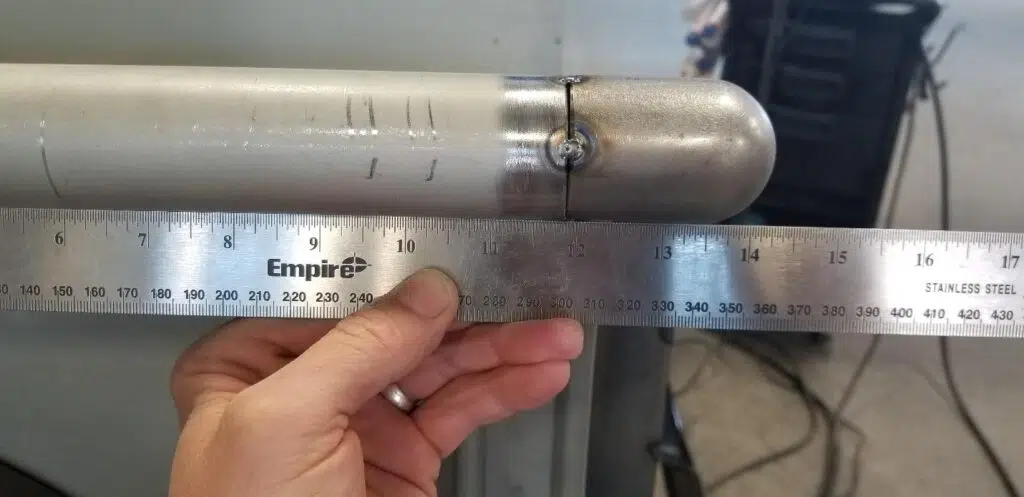
Figure 9 — bed corner fit and ready to tack weld; use an angle finder to find the proper cut angle - After that, tack weld and align. Tack weld the bed corner in place and double-check that it’s straight with the bed rail using a straight edge across both.

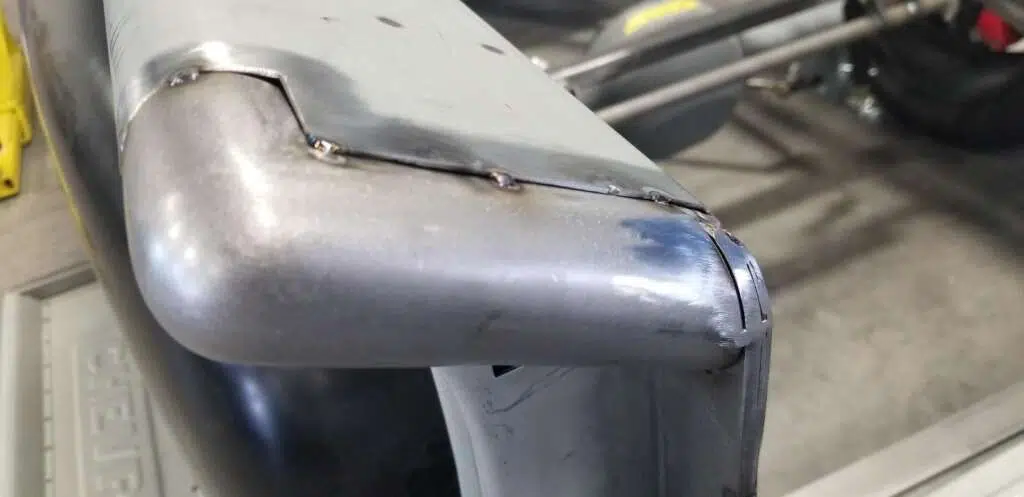
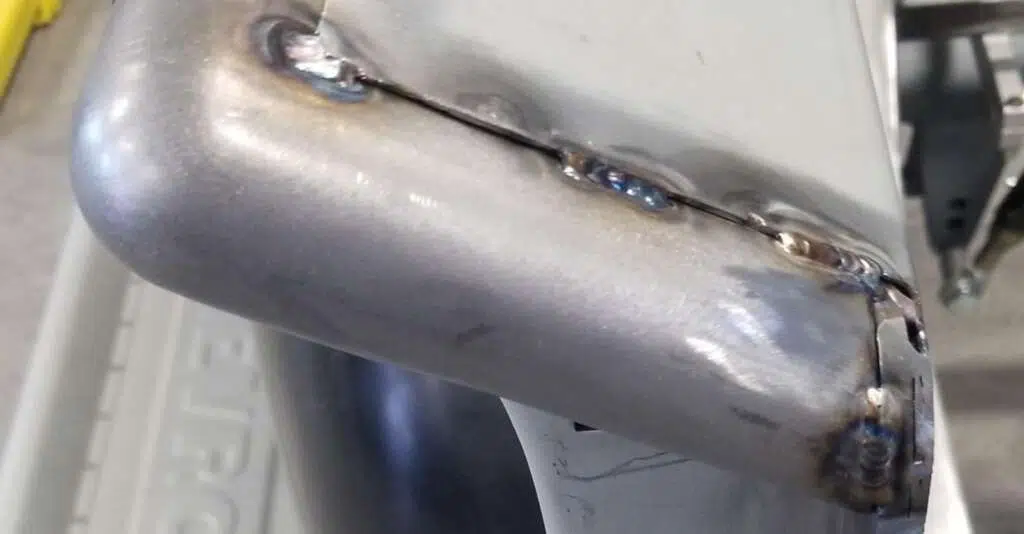
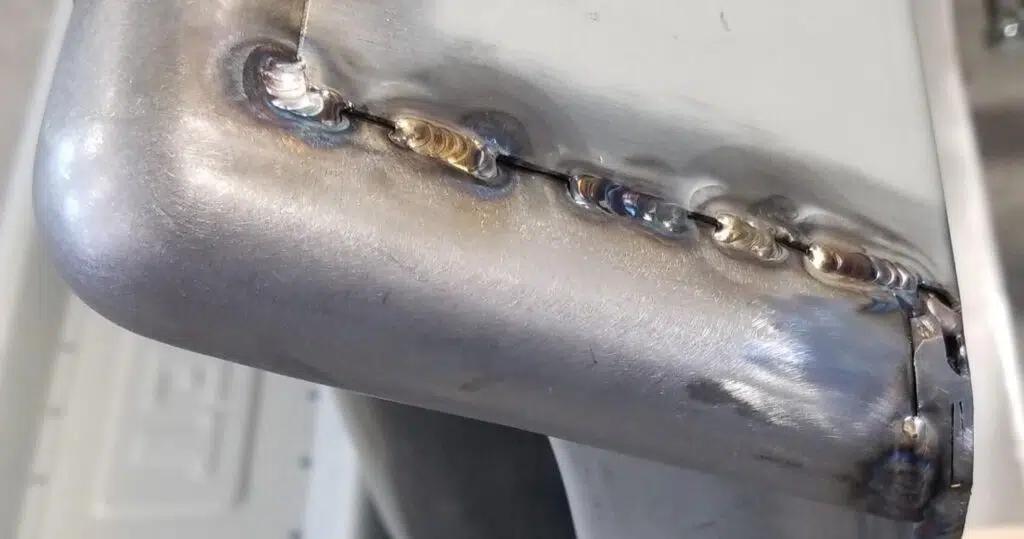
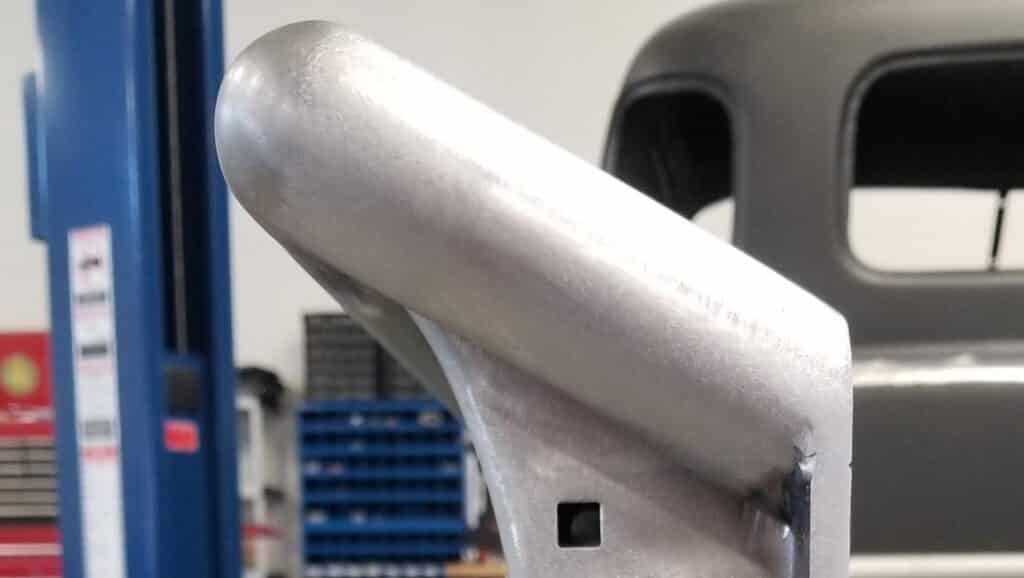
Figure 10 Figure 11 Figure 12 — tack welded firmly in place - After that, fully weld. Stitch weld small areas at a time, and let them completely cool to prevent warping. Do not weld underneath the bed corners — there’s too much gap between the corner and stake pocket to weld adequately; use a seam sealer there instead.

Figure 13 
Figure 14
Grinding and body work
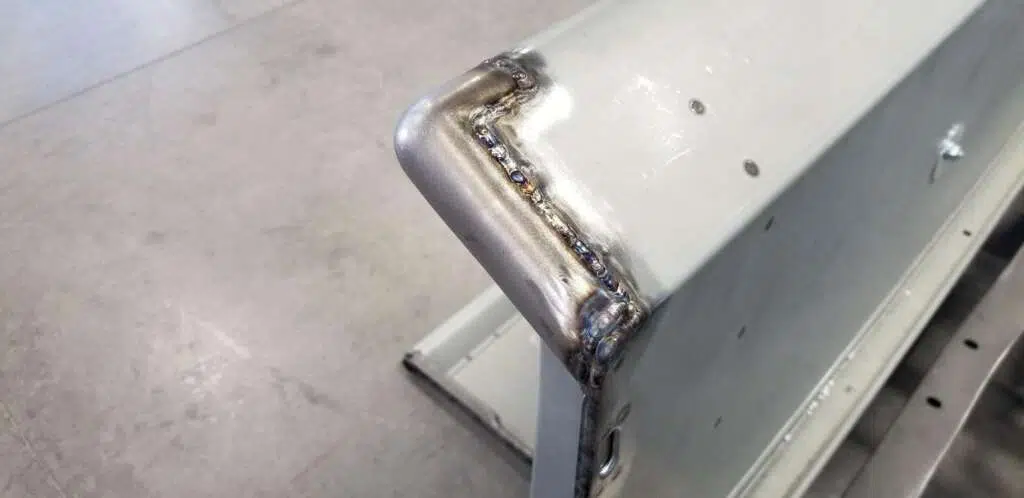
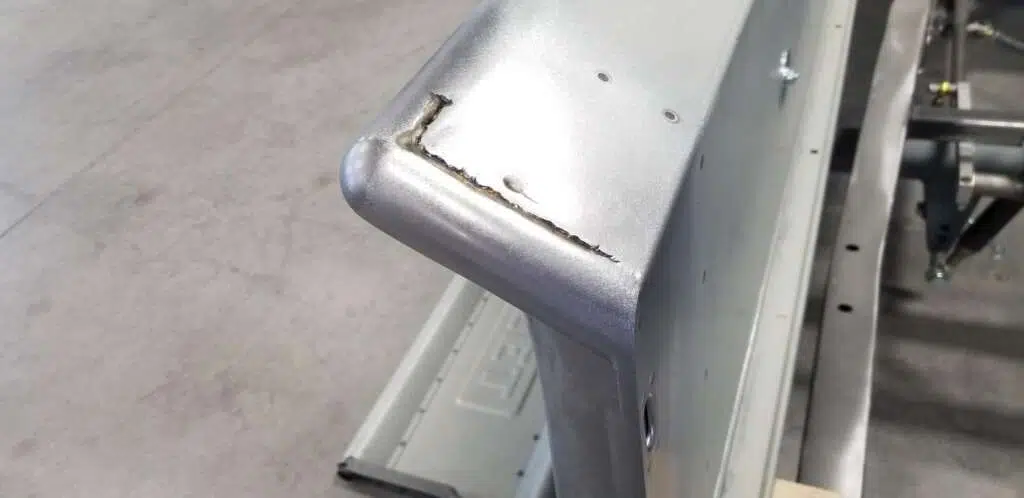
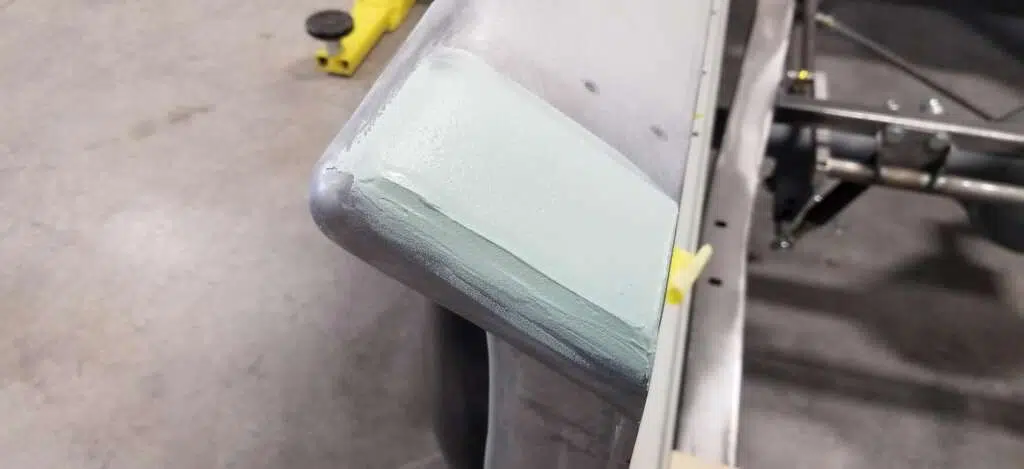
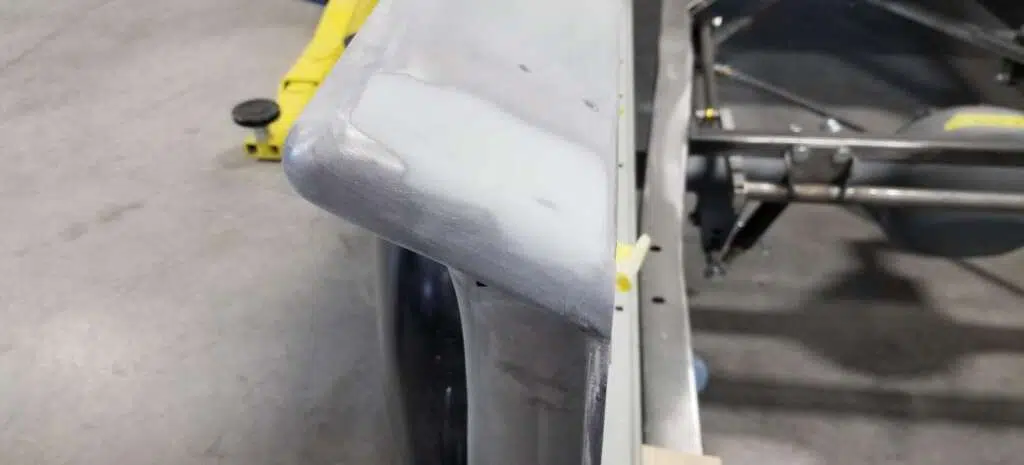
- Next, grind the welds. Grind down the welds. Some body work will still be needed, so don’t worry if they don’t look perfect yet. Take care not to gouge the material; blend as smoothly as possible to minimize body work.
Figure 15 Figure 16 — this is how they should look Figure 17 
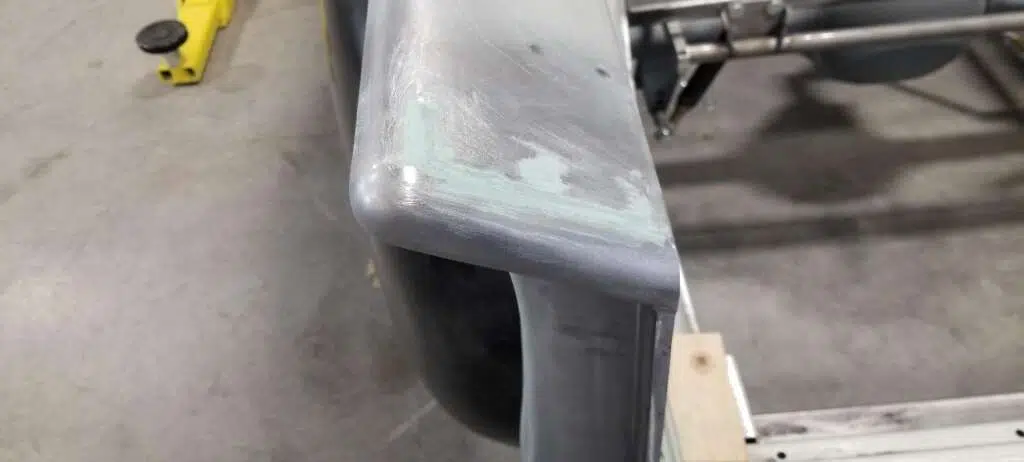
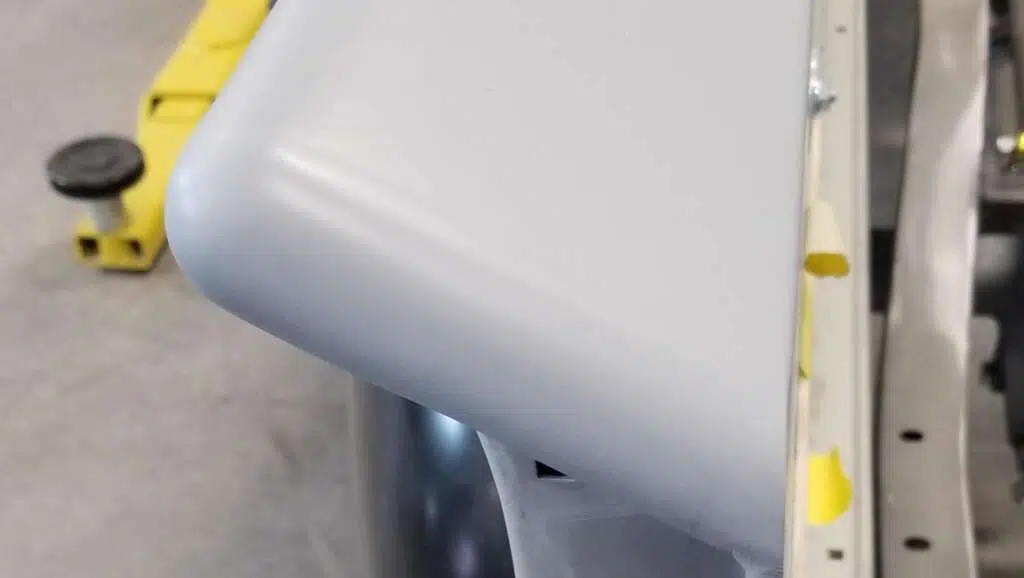
Figure 18 - Finally, body work. If you’re not comfortable with body work, take it to a professional, because it will be worth it.

Figure 19 
Figure 20 
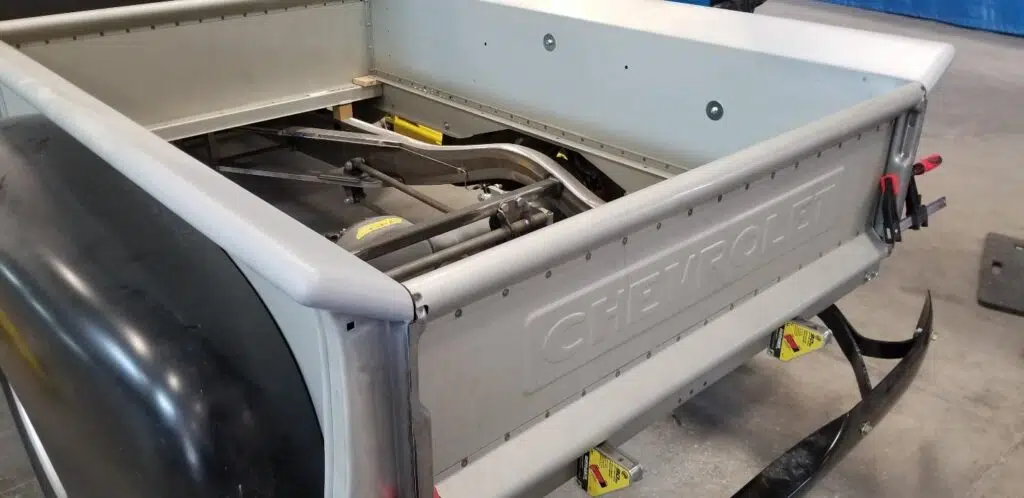
Figure 21 Figure 22 - Finally, admire the results. You now have a custom bed that adds the perfect finishing touch to your 3100. Take pictures and share them on social media — we’d love to see your work!
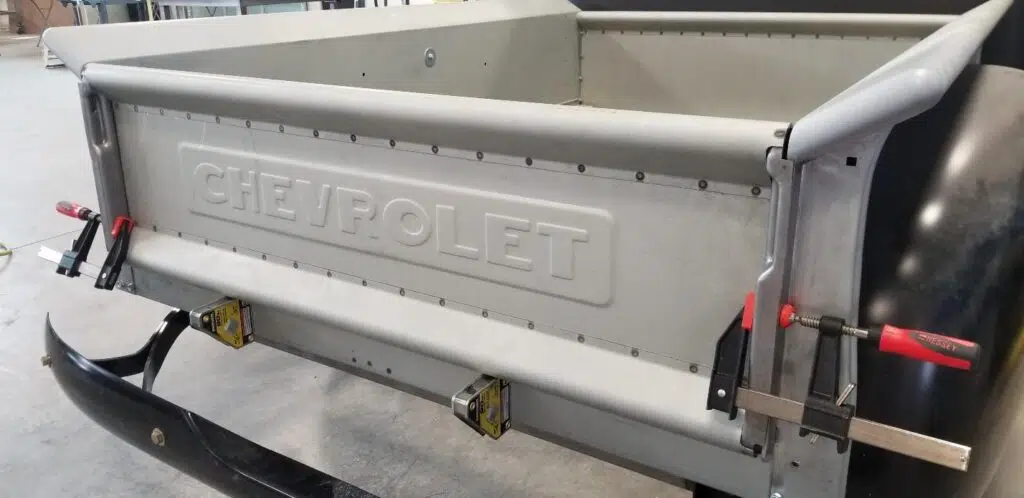
Bed corners are usually cut at the same time as wheel tubs and bed hardware, and the wheel tub installation guide covers the tubs. Those and the rest of our Advance Design range are in the 47-54 truck parts collection.
Radius bed corners installation: tips from our shop
- First, check that both bed sides measure the same before you mark either one, because a repaired bed is often out.
- Also, work on a bed that is off the truck if you can, since the back panel is far easier to reach.
- Then cut long and trim back, because you can always take more off.
- However, do not weld a long bead. Short stitches and a full cool-down keep the panel flat.
- In addition, a radius bed corners installation looks best when the bed wood goes back in last.
- Finally, prime the bare edges the same day you cut them, since fresh steel surface rusts quickly.
For any questions or concerns with your install, don’t hesitate to email us at info@lsfab.com
Printable instructions
The illustrated version of this guide, ready to print for the shop.
0 Comments