










How to unpack, trim and fit the ABS headliner, door panel and kick panel kits for a 1947 to early 1955 Chevrolet truck.
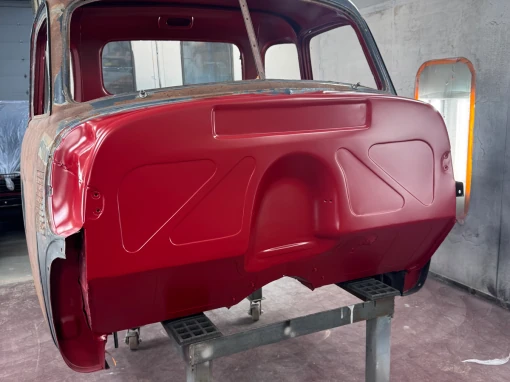
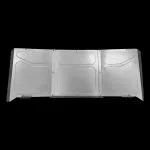
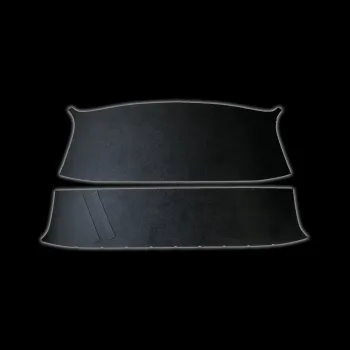
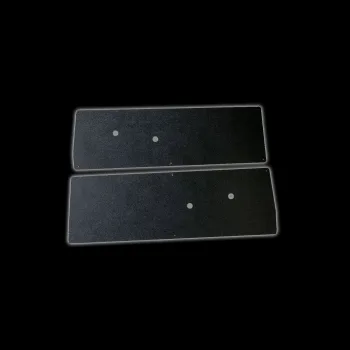
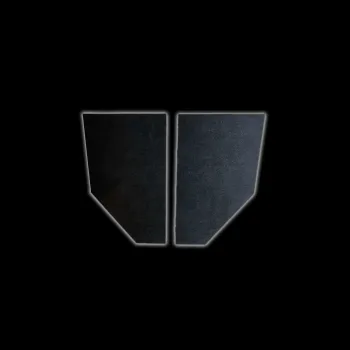
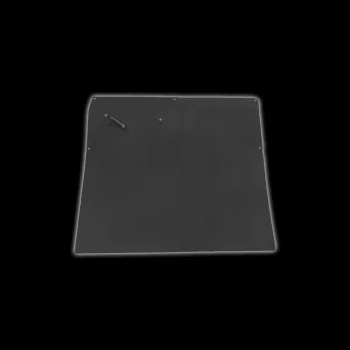
These 1947-55 ABS panels give you a clean, stable base layer in place of cardboard. The range covers the 1947-53 headliner, the 1954-55 headliner, the door panels, the full height door panels and the kick panels, all thermoformed from ABS sheet. We deliberately leave several holes and notches uncut or cut small, because no two of these cabs measure the same after seventy years. The notes below cover each of those, so they are not omissions.
Unpacking the panels
- First, take the tape off carefully. The panels ship rolled, and they will want to spring open as the tape releases.
- Let them relax. Unroll the panels and lay them flat in a warm area until they settle.
- Finally, keep them out of direct sunlight. Do not leave the panels in the sun for any length of time.
If you told us at the time of order that you plan to cover the panels, some in your kit may carry small blemishes. That is why we ask, so lightly blemished panels go to the builds where nobody will see them. Before you cover them, clean every surface with a cleaning solution such as TSP to take off any film or finger oils.
Tools you will need
- Drill with 3/16″ and 3/8″ bits
- A file, or an air grinder, for the visor holes
- Sharp scissors or a fine saw for trimming, plus a pencil
- TSP or a similar cleaner if you plan to cover the panels
1947-55 ABS panels: headliner kits
- L49-53 kits: we leave the two outermost hole notches off the rear panel on purpose. You may need to trim the panel slightly near the ends to follow a slightly different curve. Confirm the fit first, then mark and notch to suit the screw holes in the cab corners. Cab sizes vary in this area. For example, on the reference truck the driver and passenger sides have slightly different curves where the door weatherstrip channel sits.
- 47 to early 49 kits: the rear panel may need minor trimming for the same reason. Confirm fitment, screw in all the trim fasteners, then open the door and look at the area from outside the truck. Mark any material that stands proud with a pencil. After that, take the rear panel back out and trim about 3/16” above the line.
- Visor holes: where the headliner has them, we cut the main arm hole deliberately small, because stock and aftermarket reproduction arms differ in size. File, drill or air-grind it out to suit your arm. The metal hole in the cab corner makes a good guide, and the job is easy to do after the panel is in.
- Passenger visor: we provide no passenger visor holes. The passenger visor does not mirror the driver side exactly, and a template from the driver side did not transfer across. So take care locating those holes yourself.
ABS door panels
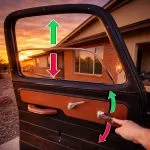
- We do not cut the armrest holes. All door panels now ship with no armrest holes, which keeps the inventory straight and stops the wrong panel going out. However, you will find the armrest bolt hole locations scribed on the back of each panel. Drill them with a 3/8” bit if you need them.
- Full height panels have no mounting holes. That is so you can place the fasteners where you want them. Again, the back of the panel carries scribe marks for the armrest locations and the original small screw mounting holes. Drill the small mounting holes with a 3/16” bit.
ABS kick panels
The kick panels need minor trimming at the front uppermost dash locations. Take your time, trim a little at a time and test fit between passes.
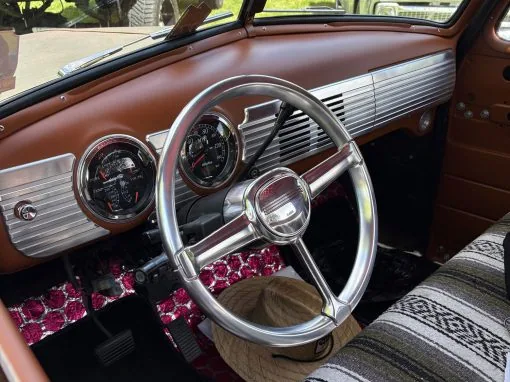
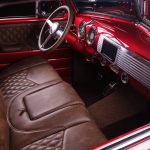
ABS panels give you a base layer rather than a finished surface, so most builds pair them with new door and kick panels. If the dash is out at the same time, the 1947-53 billet dash guide covers that job. Both are in our 47-54 truck parts collection.
For any questions or concerns with your install, don’t hesitate to email us at support@lsfab.com
Printable instructions
The illustrated version of this guide, ready to print for the shop.
Parts used in this guide
 ABS Headliner - 47-53 GMC Chevy Truck$139.99Shop this part
- ABS Headliner - 54-55 GMC Chevy Truck$149.99Shop this part
- ABS Door Panels - 47-55 GMC Chevy Truck$64.99Shop this part
- ABS Kick Panels - 47-55 GMC Chevy Truck$45.99Shop this part
- ABS Full Size Door Panels - 47-55 GMC Chevy Truck$88.99Shop this part

0 Comments