











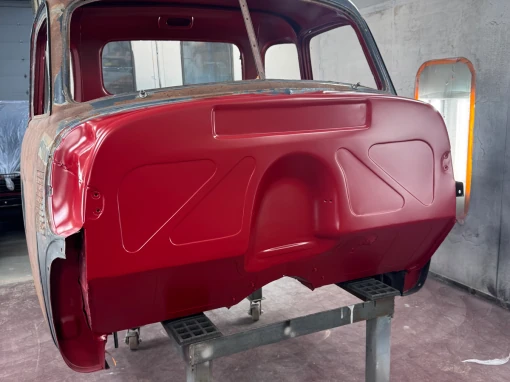

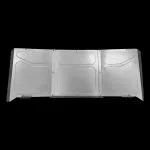

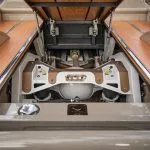
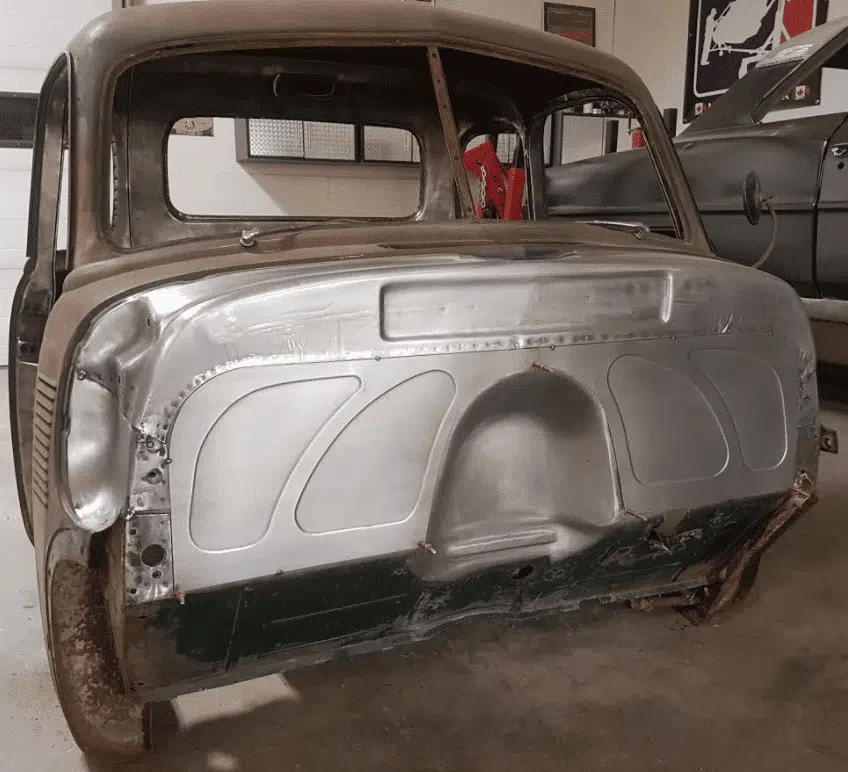
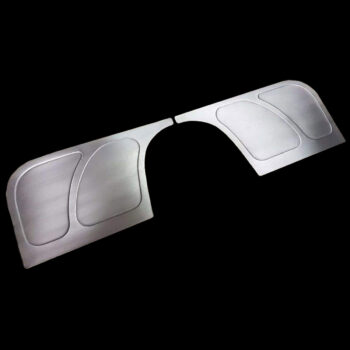
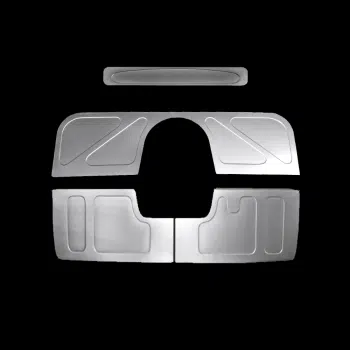
The filler panels for 1947-54 cabs replace the busy factory firewall of an Advance Design truck with a smooth or bead rolled panel on each side of the tunnel, and the panel combo adds the matching kick and cowl panels. They are welded in, so this is a job for a cab that is already stripped. First, read the safety note. Then mark, cut and weld in the order below.
Tools you will need
- Permanent marker, masking tape and a tape measure
- Cutoff wheel or electric grinder with a cutoff disk
- Drill with a 5/16″ bit for the spot welds
- Grinding disk, MIG welder, clamps and magnets
First, remove any impeding wires, bolts, screws, and/or braces from the outside wall and the same from the inside of the cab. There should be no interior, wires, or impeding parts or materials that could damage or catch fire.
1947-54 firewall filler install steps
- First, check fitment and mark. Place the filler panel onto the outside of the driver and passenger side firewall and check fitment. With a permanent marker, trace a reference line along the edge of the filler onto the existing firewall for both driver and passenger. Using a cutoff wheel or electric grinder, cut inboard roughly ½″ along the marked reference line — masking tape can help guide your spacing.
- Separate the braces. There are 2 braces running along the inside of the firewall at an angle on either side of the engine tunnel — separate the braces from the firewall sheet metal.
- Drill out the spot welds. Use a 5/16″ drill bit to drill out the spot welds along the outside of the firewall that attach the sheet metal to the braces. At this point the old firewall should be separated from the cab.
- Clean the lip. Leaving a ½″ lip around the existing firewall gives the new fillers a slight edge to rest on for welding. Clean the perimeter with a grinding disk or abrasive tool to remove old paint — you’ll need clean metal for welding.
- Position and tack weld. Place the filler panel onto the opening until it lines up nicely with the top and outside edge, then tack weld it into place. Slight trimming may be needed in the middle of the firewall where the two fillers meet — roughly 1″ of material is left for cab diversity.
- Finally, finish welding. If you’re happy with the placement, tack weld around the perimeter at 1″ intervals to minimize warping. Once welded, grind down your welds and prep for body work.
Further reading
Our Chevy truck firewall installation guide covers the full bead rolled firewall rather than the fillers, and the 1955-59 firewall filler guide shows the same job on the Task Force cab.
If the firewall is out, it is the easiest time to fit kick panels and cowl fillers too. All three are in our 47-54 truck parts collection.
For any questions or concerns with your install, don’t hesitate to email us at support@lsfab.com
Printable instructions
The illustrated version of this guide, ready to print for the shop.
0 Comments