
















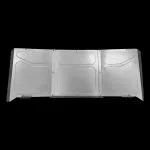


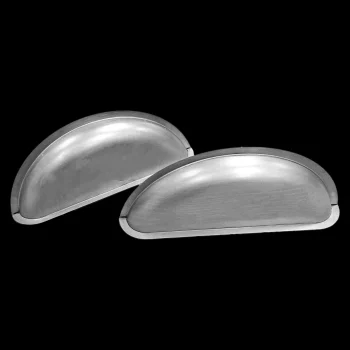
Our universal tubs for truck beds give a lowered truck the tire clearance the factory bed never had. This wheel tub installation was done on a wood floor bed, and the photos show every step from the first mark to the stained boards. The tub is bonded in with 3M panel adhesive and then welded along the lip. First, read all twenty-one steps. Then set aside two days, because the adhesive cures overnight.
Tools you will need
- Plasma cutter, or a jigsaw with a fine-tooth metal blade
- Grinder, deburring tool and a Dremel
- 3M 08115 panel bond adhesive, clamps and lacquer thinner
- MIG welder, magnetic pinstripe tape and a fine point marker
Wheel tub installation steps
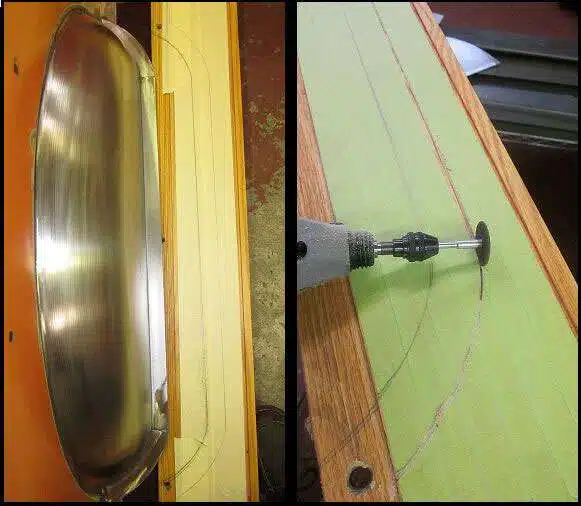
- First, center the tub. Find the center of the axle — normally the center bolt hole in the bottom lip. Measure the opening in the tub and center the tub on the mark.
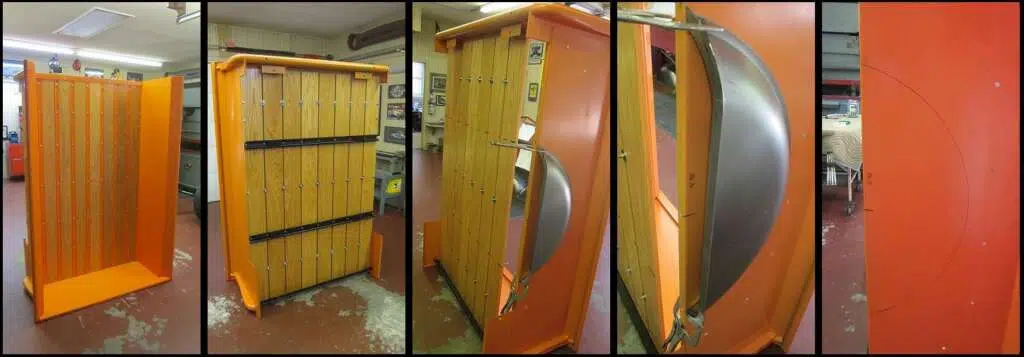
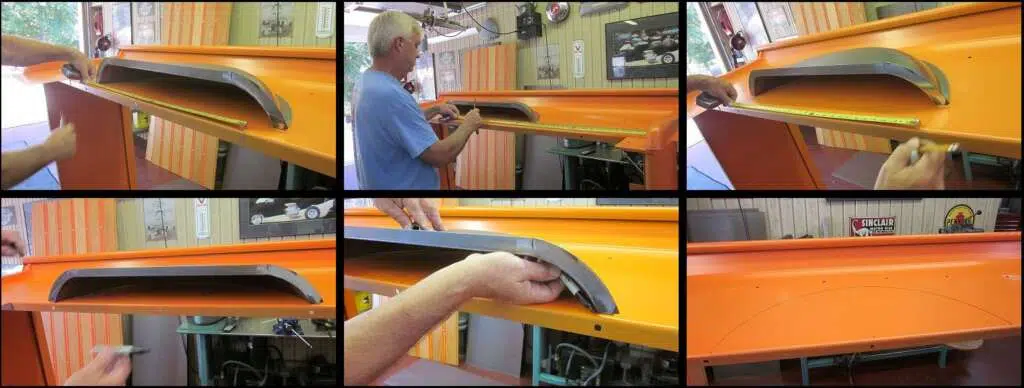
Step 1 - Next, mark the bed side. Place the tub on the bed side, even the lip on the tub with the bottom bed lip, and use a fine point sharpie to mark the inside of the tub.

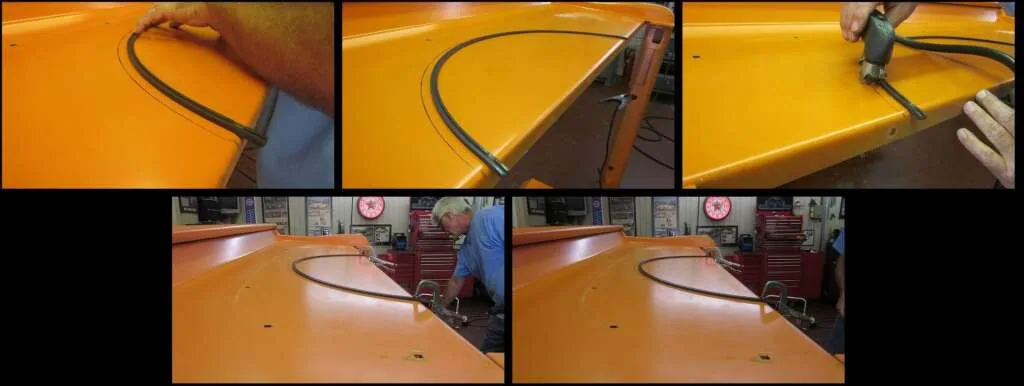
Step 2 - Then set up the cut line. Using magnetic pinstripe tape, place it on the bed side 1/8″ outside the mark where the plasma cutter will cut. Alternatively, use a jigsaw with a fine-tooth blade.

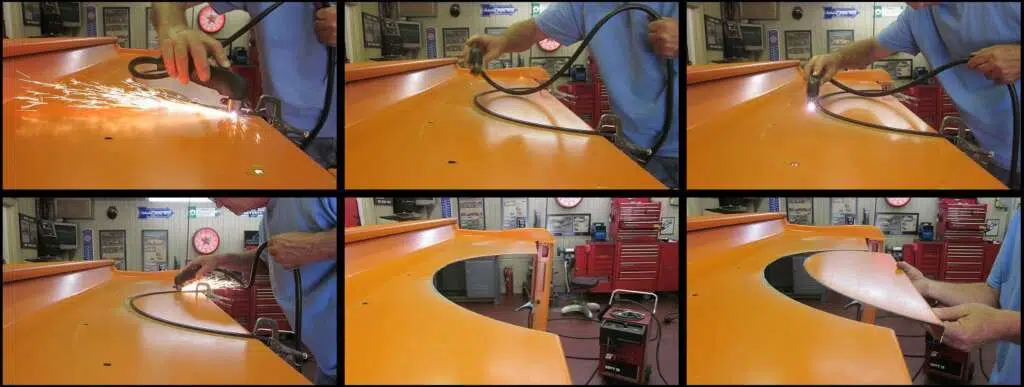
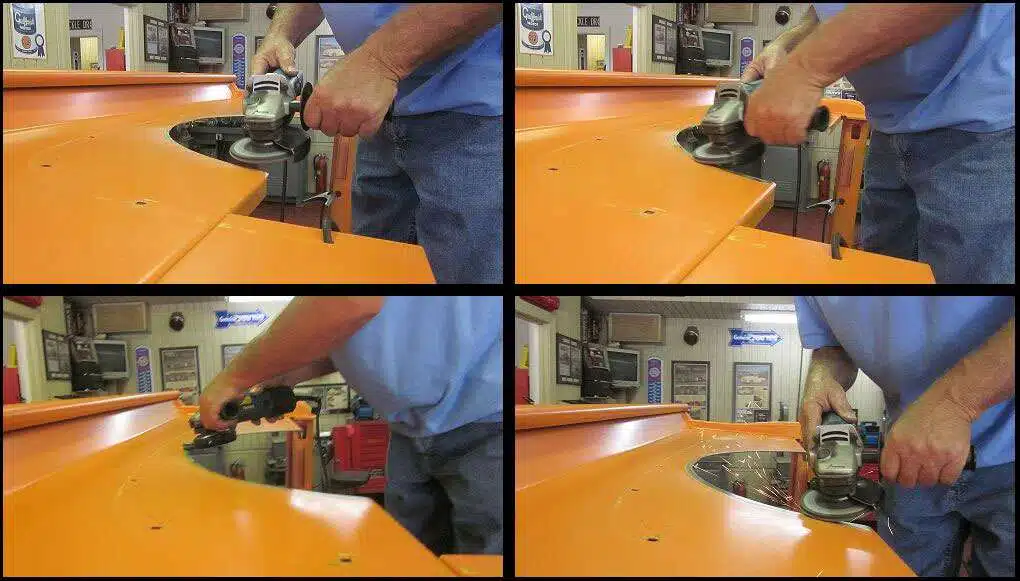
Step 3 - After that, cut and remove the panel. Plasma cut the opening for the tub and remove the panel.

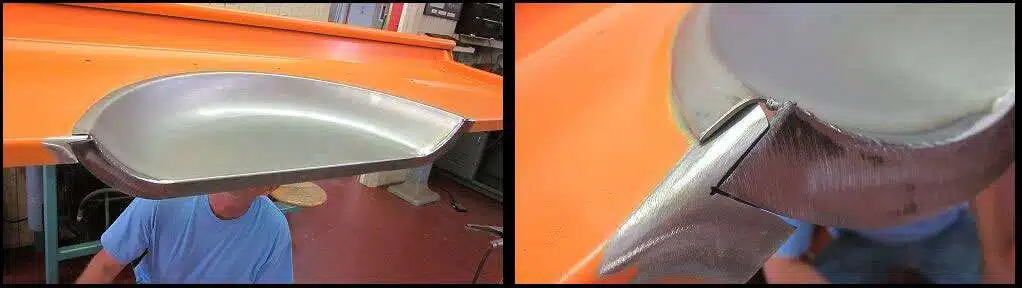
Step 4 - Then mark the tub lip. Place the tub back in the hole, mark the bottom lip, and saw out the bed side for the tub lip.

Step 5 - Next, grind for the bond. Grind 1″ all the way around where the lip will bond.

Step 6 - Also, deburr. Deburr the back side if you used a plasma cutter.

Step 7

Bonding the tub during wheel tub installation
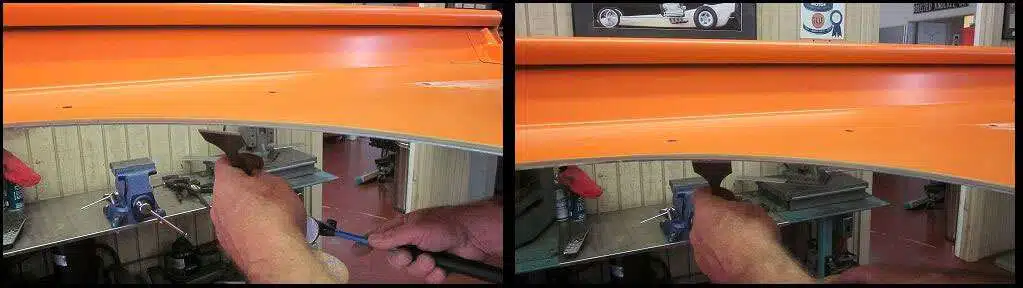
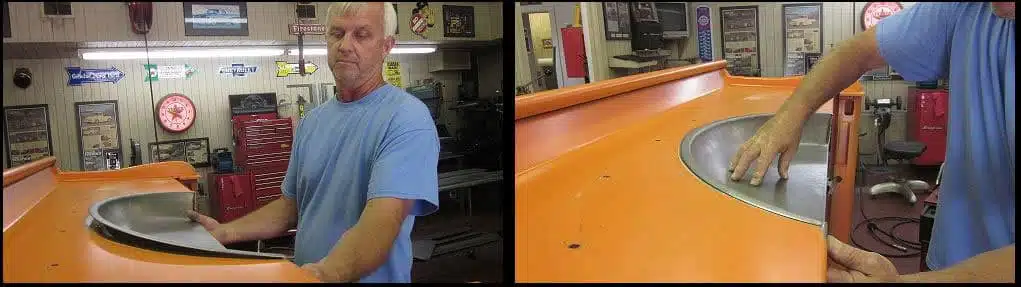
- Then check the fit. Test-fit the tub in the opening.

Step 8 - After that, grind the tub lip.
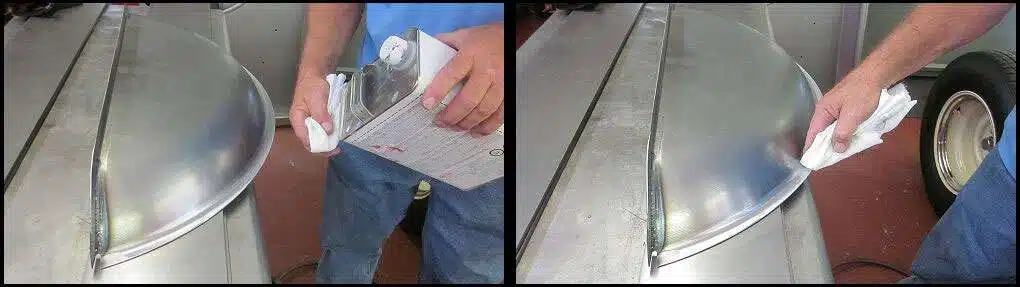
Step 9 - Next, clean the surfaces. Put lacquer thinner on a rag and clean the tub and bed side. Then blow off all lint from the rag.

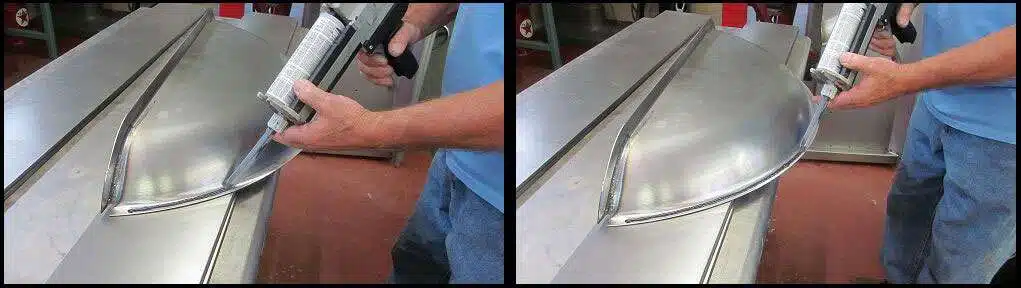
Step 10 - Then apply the adhesive. Use 3M Epoxy Metal Bond (3M #8115 Panel Bond Adhesive) with a solid bead.

Step 11 - After that, reposition the tub. Place the tub back in the bed side and line up the lip at the bottom.

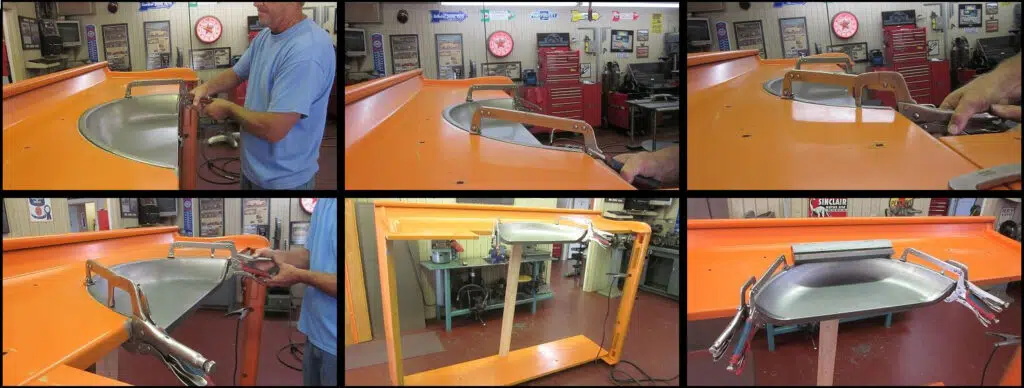
Step 12 - Then clamp and set. Begin with clamps and heavy steel to set the bond, and leave it overnight.
Step 13 - Next, weld the lip. The following day, weld the tub lip to the bottom of the bed lip.

Step 14

Fitting the bed wood
- Next, mark the board. Place a board under the bed lip and mark the outside and inside of the board.

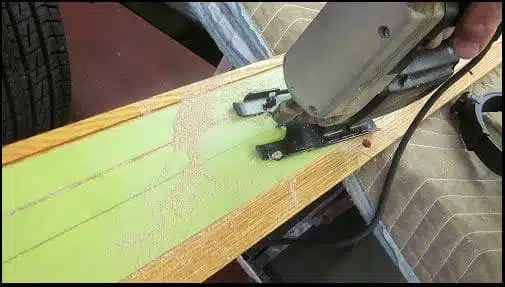
Step 15 - Then clean up the edge. With the board marked and ready, use a Dremel to clean up the edge.

Step 16 - Then cut the board. Jigsaw cut the first mark on the board.

Step 17 - After that, grind for fit. Grind 1/8″ so the tub fits.
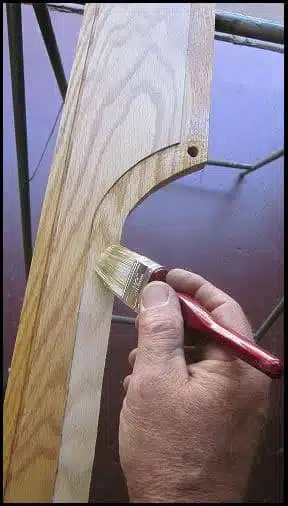
Step 18 - After that, stain to match. Stain the board to match the original color.

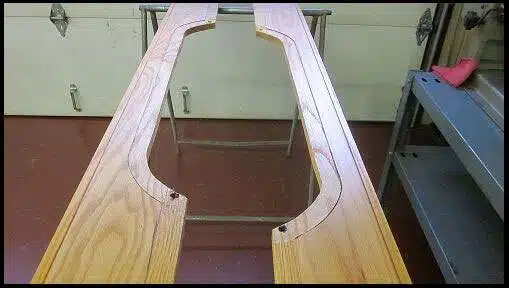
Step 19 - Finally, finish the boards. Once the stain dries, the boards are ready to install.

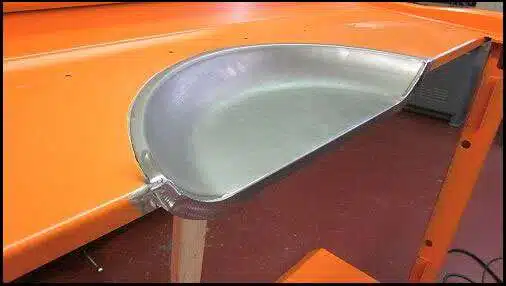
Step 20 - Finally, admire the result. This is a fitted and installed wheel tub.

Step 21


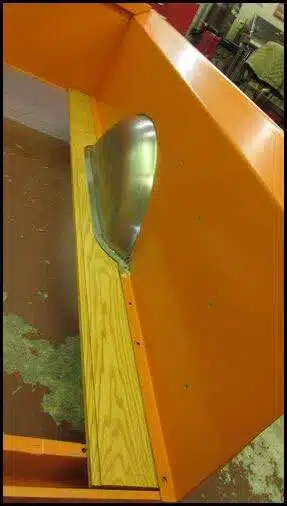
Tubs are usually cut at the same time as radius bed corners, and the radius bed corners guide covers that job. Wheel tubs go in alongside bed corners and bed hardware — browse classic truck parts by year to find what fits your bed.
Wheel tub installation: tips from our shop
- First, decide on your tire and wheel package before you cut, because the tub size follows the tire.
- Also, cut on a bed that is off the truck if you can, since the panel is much easier to reach.
- Then dry fit the tub twice, once before grinding and once after, so the lip sits flat.
- However, do not rush the adhesive. It needs a full overnight cure before the welding heat goes near it.
- In addition, keep a fire extinguisher close by while you weld beside stained bed wood.
- Finally, prime the bare edges the same day you cut them, because fresh steel starts to surface rust quickly.
For any questions or concerns with your install, don’t hesitate to email us at info@lsfab.com
Outstanding work on the instructions but what’s your recommendation on what to use to between the bed and the wheel tub on the inside? No cut will be perfect when cut by hand, there would some small imperfections that I believe can be hidden by a beat of silicone or other product.
TIA
Seam sealer is what they use in the newer automotive applications. It’s also paintable, unlike silicone. Should make a nice finish.