
















Our universal clip kit lets you run a 10.5″ hub cap on a wheel that never had clips, or on a wheel where the factory clips are gone. The kit includes a paper template, the drill bit, the tap and the hardware. Hub cap clip installation takes about twenty minutes per wheel. First, do it on bare wheels if you can. Then coat the wheels after you finish drilling and tapping every hole.
Tools you will need
- Scissors and tape for the template
- A drill, plus the bit and tap supplied in the kit
- Tape measure and a marker
- Flat-nose pliers for the spring steel
Hub cap clip installation steps
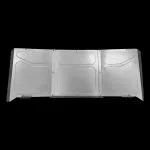
- First, cut the template. With scissors, cut the outer ring out of the paper template.
- Mark hole centers. Lightly place the template in the center of the rim and mark the center point of the 6 holes.
- Next, verify the spacing. Measure across to confirm a 9″ spacing between the holes, and check that the template has not shifted or gone in too far.
- Drill and tap. Drill the holes with the provided drill bit and carefully tap them with the provided tap. Too much force will break the tap.
- Attach the cap clips with the provided hardware.
- Then modify the clips if needed. Some styles of 10.5″ cap need a slight tweak to the clips, and some do not.
- Finally, bend the spring steel. Use a flat-nose pair of pliers to bend the spring steel to accept your caps. Depending on the inside lip style of your caps, this modification can reduce the chance of caps coming off while driving or being pried off.
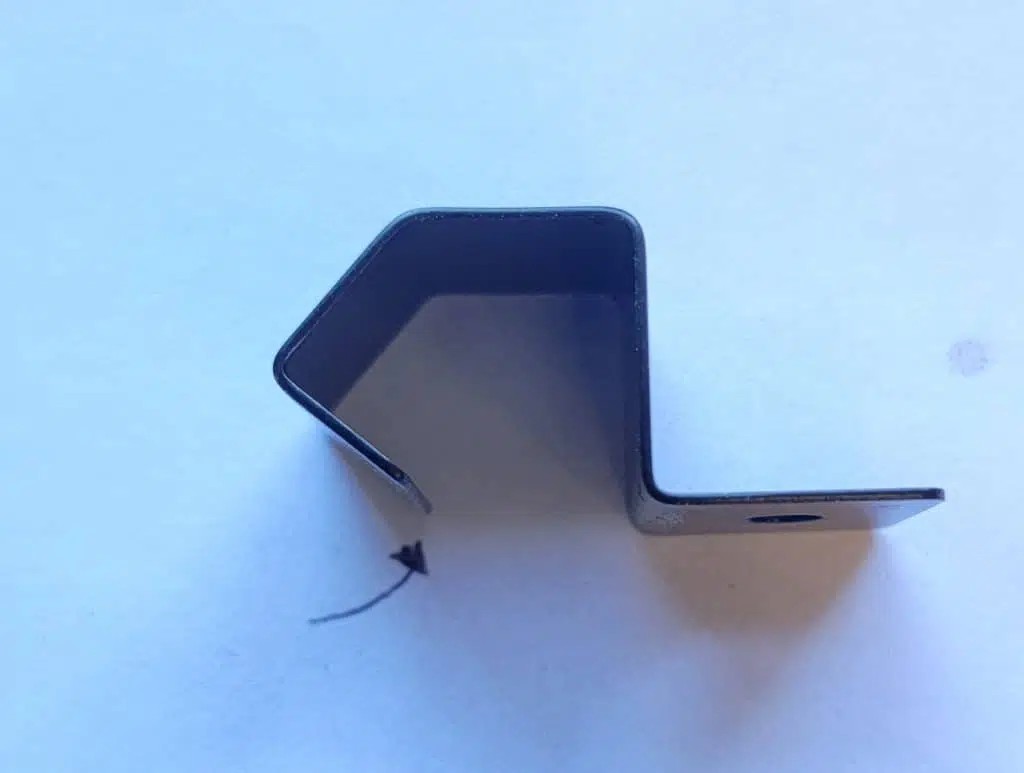
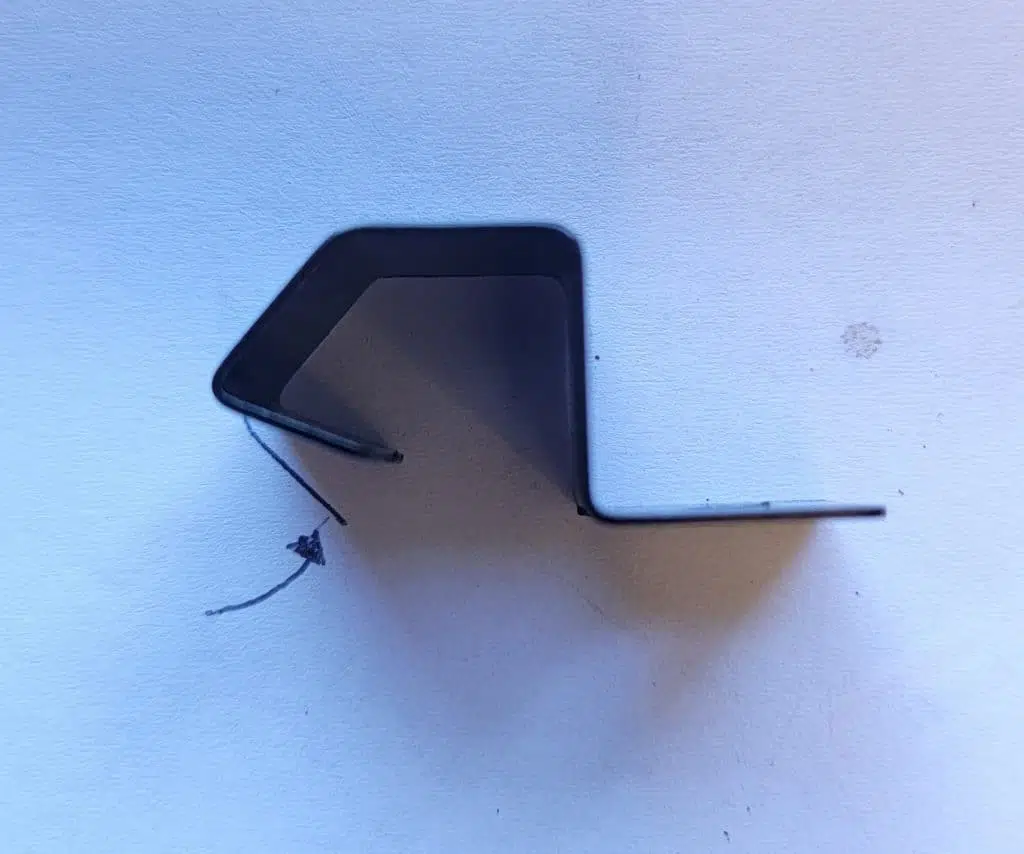
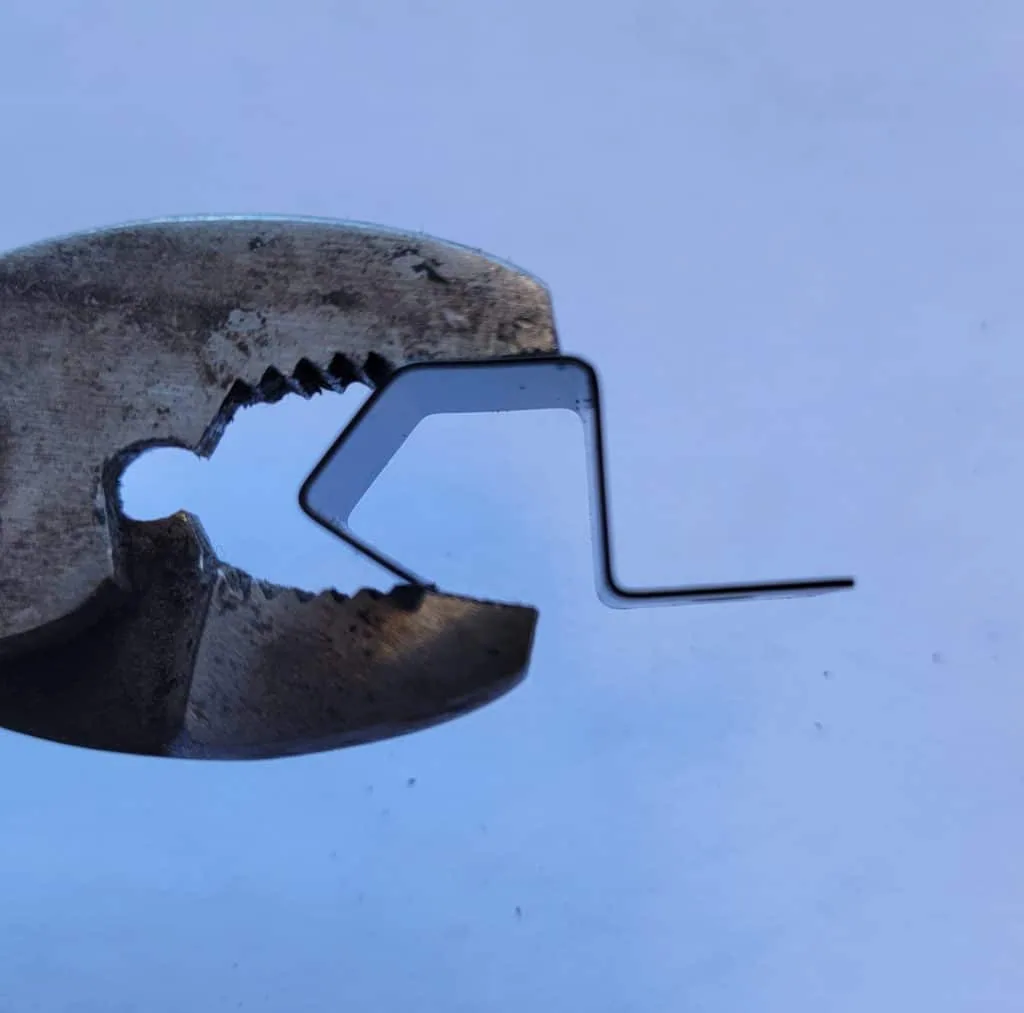
- Test fit your caps with the wheels off the vehicle.
- Do any drilling, tapping, installing, or modification on uncoated wheels. Coat the rims after you finish all the steps.
- However, if your wheels already have a finish, mask them up while you work, because accidents can happen.
- Feel free to reach out to our personal number if you have any questions about the installation of your cap clips: (780) 678-9469.
The clips fit most 15″ and 16″ steel wheels. Also, they suit the dog dish caps that go with our classic truck parts by year. If you are not sure what year your truck is, our Chevy truck VIN decoder reads the serial plate.
For any questions or concerns with your install, don’t hesitate to email us at info@lsfab.com
Printable instructions
The illustrated version of this guide, ready to print for the shop.

How can you scan the qr from your installation instructions when you are looking at the instructions from your phone … kinda pointless !
But still looking forward to put the caps on the 22s !
Hey Dan,
That is just the file that gets sent with all hub cap clips shipments to take people to this page. Its there to print off in case of error installing. Hope you enjoy your hub cap clips! They will ship out Monday!