














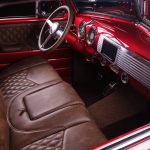

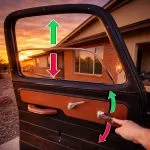
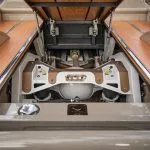
Cowl mounted 1967-72 hood hinges take the hinge off the inner fender and put it on the cowl. That frees up room for a bigger tire, and it clears the engine bay at the same time. First, read every step below. Then set aside an afternoon, because this job involves drilling, cutting and welding.
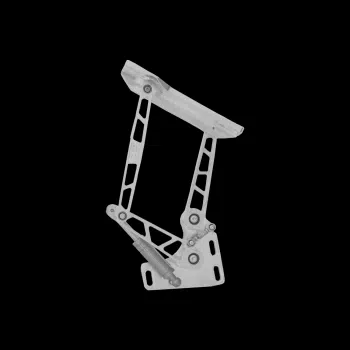
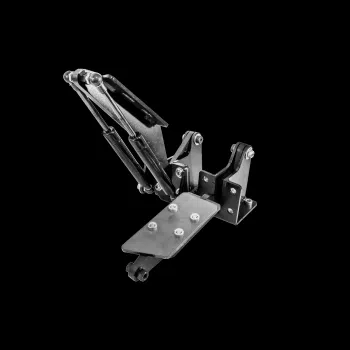
Looking for a solution to achieve more tire clearance or to clean up your engine compartment on your 67-72 C-10? Cowl mounted 1967-72 hood hinges are the usual fix. Our hinge kit for 1967-72 trucks mounts on the cowl instead of the fender, and the hinge and strut kit adds gas struts so the hood holds itself up. The install uses basic tools and takes 4-6 hours. However, if you or your installer have not done this type of work before, we recommend professional help.
Tools you will need
- Tape measure, masking tape and a marker
- Drill with 5/16″ and 9/16″ bits
- Cutoff wheel or body saw
- Torque wrench, welder and basic hand tools
1967-72 hood hinges install steps
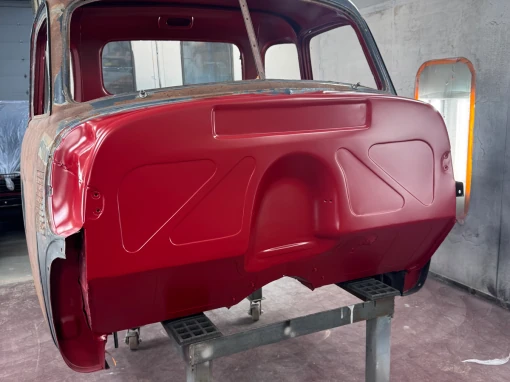
- First, remove the factory parts. Remove your factory hood, hood hinges, and wiper cowl.
- Mark the hinge locations. Measure and mark the center of your cowl with a vertical line on masking tape, then measure out 23″ from the center line on both sides and draw vertical lines to mark the hinge base locations. Double-check your measurements for accuracy.
- Make a hinge face template. Disassemble the hinge arms from the hinge bases, trace the face of the hinge base onto a piece of paper or poster board, and mark the 4 mounting holes plus the slot for the hinge arm.
- Drill and cut. Drill all 4 hinge base mounting holes with a 5/16″ drill bit, and the top and bottom of the hinge arm slot with a 9/16″ drill bit. Finish cutting the slot with a body saw or cutoff wheel.
Fit the 1967-72 hood hinges and hang the hood
- Next, install the hardware and check clearance. Insert the hinge base and loosely install all mounting hardware, including the hood lift strut bracket. Trim the firewall pinch if needed for bracket clearance. Torque all hardware to 25 ft-lbs, slide the hinge arm through the cowl, reassemble with the hinge base, and run it up and down to check for clearance.
- Then mount the hood. Weld the hood mounting pads to the hood brace on the underside of the hood. Either repeat your cowl measurements to find the hood center, or loosely mount the pads to the hinge arm. In that case, remove the inner fenders and front wheels, and set the hood on the truck to confirm the fit before welding.
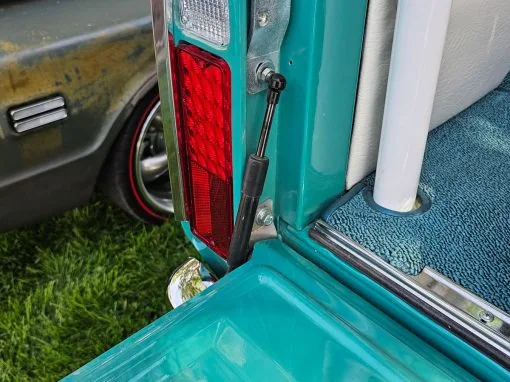
- Finally, install the lift struts. If equipped, install the 4 hood lift struts on the outside of the firewall bracket to triangulate the shocks and help stabilize the hood.
Cowl hinges are usually part of a bigger engine bay cleanup. Switch Suspension makes the hinges for us, and the earlier trucks use the same design with different measurements, so the 1960-66 hood hinges guide covers those. If you are sizing your own struts, our gas spring calculator does the maths. Our 67-72 C10 truck parts collection has the panels and hardware that tend to go in at the same time.
For any questions or concerns with your install, don’t hesitate to email us at info@lsfab.com
Printable instructions
The illustrated version of this guide, ready to print for the shop.
0 Comments