


















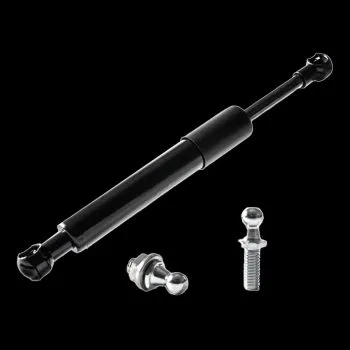
The strut kit for the 1999-2006 trucks is a gas strut for the GMT800 Silverado and Sierra. It lets the tailgate down slowly instead of letting it drop, and it mounts with two ball studs so there is no welding. First, read the steps below. Then set aside about thirty minutes, because the only fiddly part is locating the bed-side hole.
Tools you will need
- Drill with a 5/16″ bit
- Sockets and wrenches for the taillight and the tailgate hinge bolt
- Blue thread locker
- Tape measure and a marker
1999-2006 tailgate saver install steps
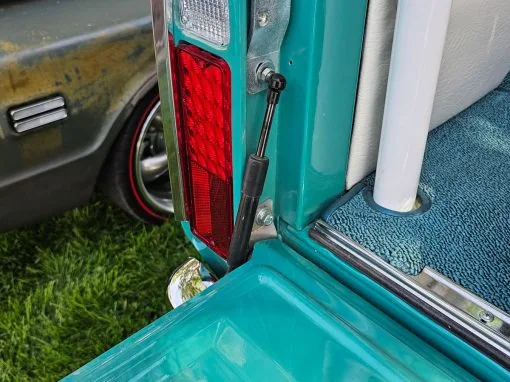
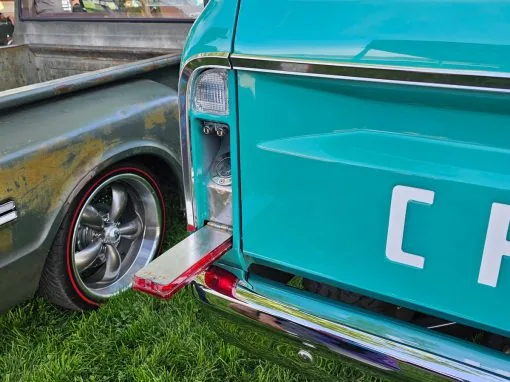
The 1999-2006 tailgate saver mounts on two ball studs, so nothing gets welded to the truck.
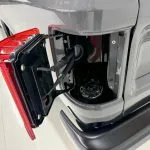
- First, remove the driver side taillight. That gives you access to the inside of the bed panel.
- Drill the mounting hole. Drill a 5/16″ hole 1.25″ down and 0.75″ from the center of the tailgate cable bolt on the bed side.
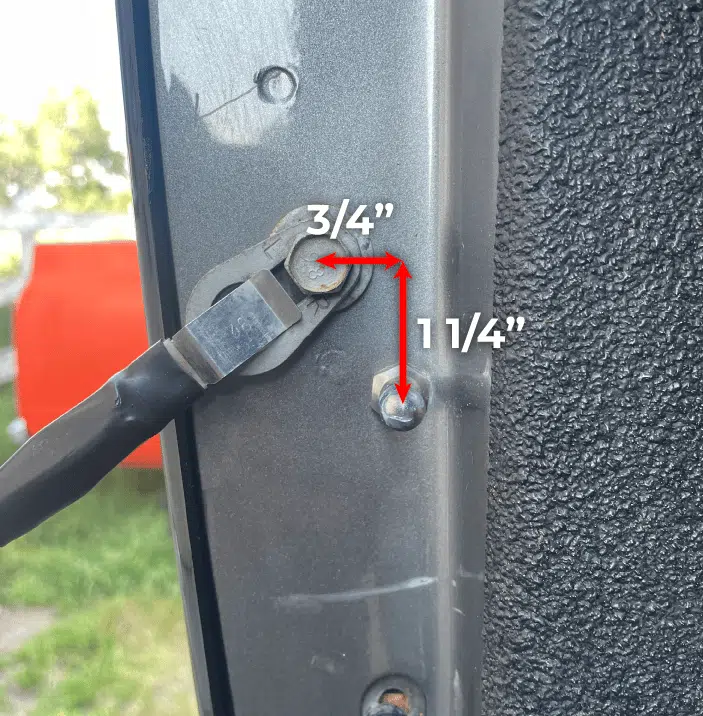
- Attach the ball stud. Attach the ball stud with the jam nut on the inside of the taillight opening.
- Install the short ball stud. Remove the factory tailgate hinge bolt and install the short M8 ball stud in the hole with blue thread locker.
- Install the strut. Install the Tailgate Saver — 99-06 GMC Chevy Truck with the small shaft pointing down.
- Finally, check for interference. Cycle through the tailgate operation carefully and make sure there are no interferences.

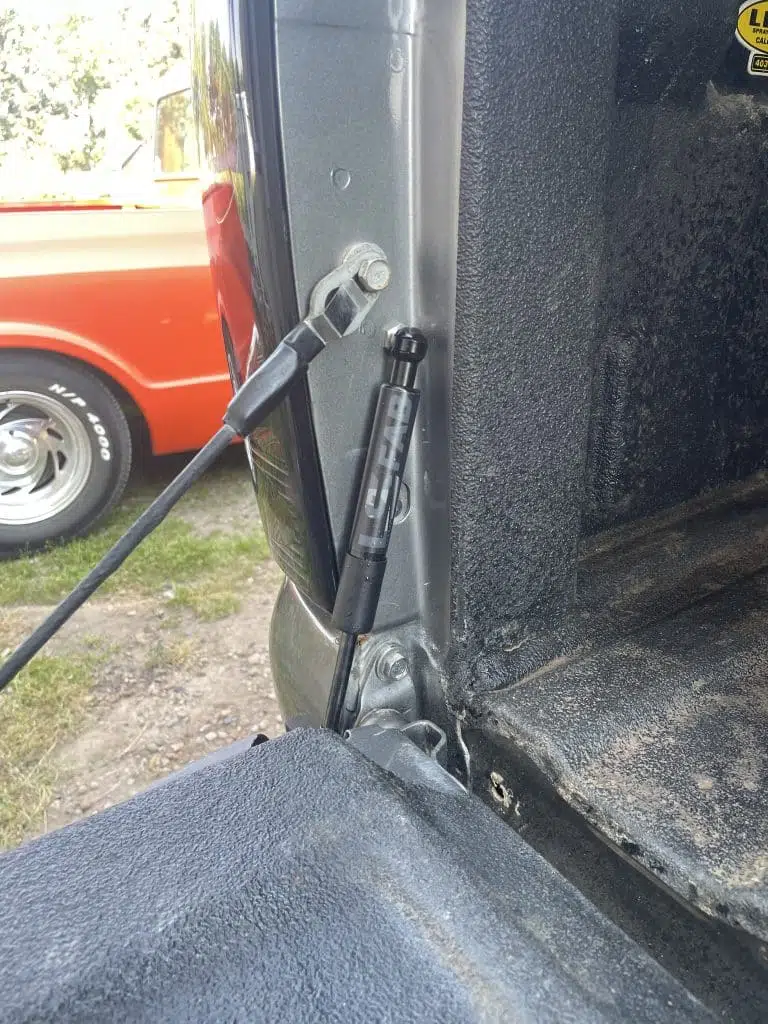
The gate saver controls the drop of the tailgate, but it does not support its weight, so keep both factory cables. Every tailgate gap is slightly different. Therefore, if the strut touches the cable or the taillight housing, loosen the bed-side stud, adjust it and tighten it again. The same strut is sold for the older trucks too, and the 1988-98 OBS tailgate saver guide covers that mount. All of our struts are in the shocks and struts collection.
For any questions or concerns with your install, don’t hesitate to email us at info@lsfab.com
0 Comments