















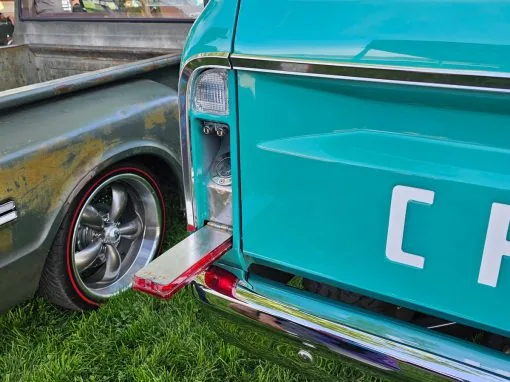



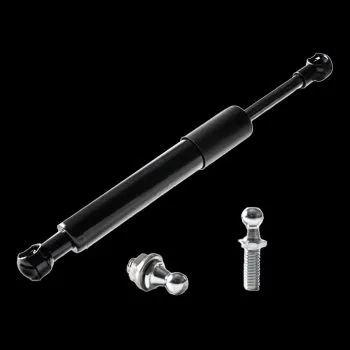
The strut kit for the 1967-72 trucks is a gas strut that lets a C10 tailgate down slowly instead of dropping it. There are two ways to mount it, and the right one depends on your latches. Trucks with Tre5 Customs latches use the striker plate bolt (Option A). Trucks with stock latches use a support bracket on the bed side (Option B). First, identify your latches. Then follow the matching steps below.
Tools for the 1967-72 tailgate saver install
- Drill with a 5/16″ bit, plus a tap or a rivnut gun for the trunnion bracket hole
- Sockets and wrenches for the striker plate and latch bolts
- Air saw or die grinder for the clearance notch
- Blue thread locker, tape measure and a marker
Which option you follow depends on your latches, and the 1967-72 tailgate saver mounts differently for each one.
Option A — the 1967-72 tailgate saver with Tre5 latches
- First, remove the lower bolt on the driver side tailgate striker plate.
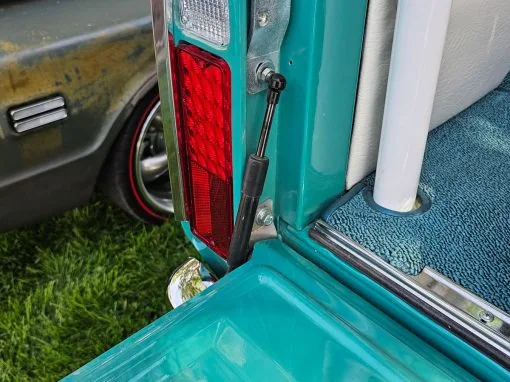
- Then install the ball stud. Install the longer ball stud with the provided thick washer and low-profile jam nut. The washer goes between the ball stud base and striker plate.
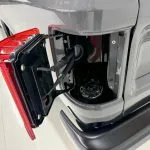
- Position the jam nut. The low-profile jam nut goes behind the taillight opening (apply blue thread locker).
- Next, drill or rivnut the bracket hole. On the lower portion of the tailgate trunnion bracket, drill and tap a 5/16NC hole. Alternatively, use the supplied 5/16″ rivnut, which needs a rivnut gun. The hole sits 1-1/8″ up from the top edge of the bracket and centered on the tailgate.

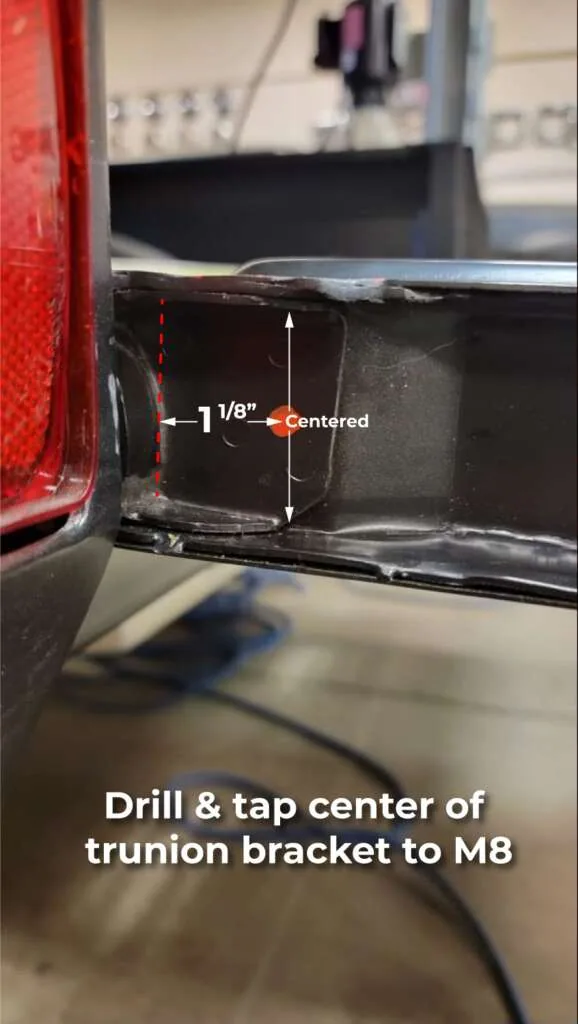
Fit the strut and check clearance
- Insert the ball stud — the shorter one provided, with blue thread locker.
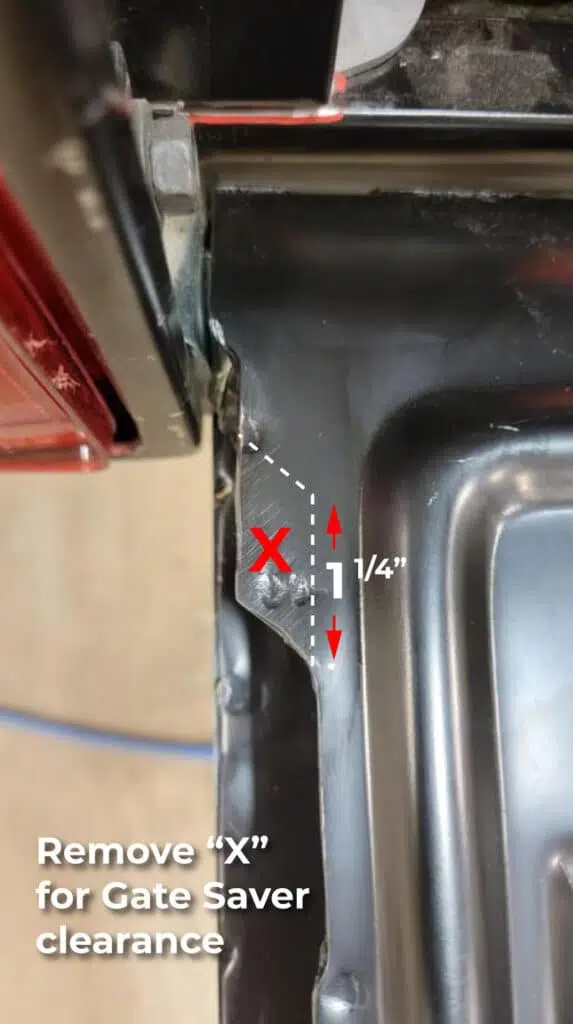
- Check clearance. The only clearance needed on the tailgate is where the Gate Saver shaft passes the bottom of the gate.
- Then remove material for clearance. Remove enough material for optimal clearance. If your tailgate has paint on it, take your time with an air saw or die grinder and touch up any bare metal edges.

- Attach the Gate Saver with the shaft pointed down.
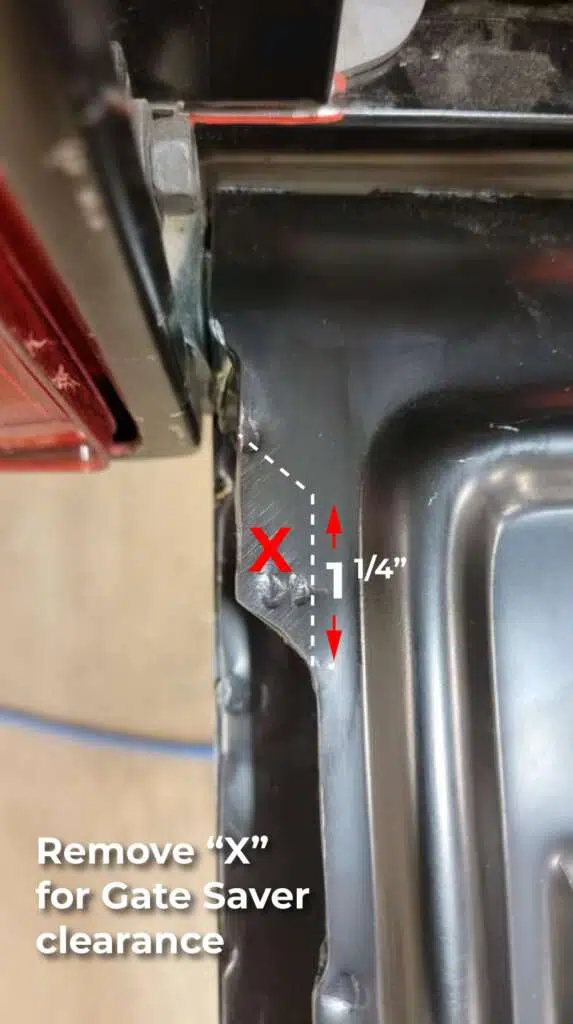
When using the Tre5 easy latches, the cable will push up against the Gate Saver. If the cable passes the strut and wedges between the inside edge of the gate and strut, remove a bit of the inside edge of the tailgate for more clearance. Another option is to remove the driver side cable entirely. As long as the load on the tailgate stays reasonable, one cable is usually sufficient.
When you first close and open your tailgate after installing the gate saver, check clearances in all areas of close contact. Open slowly, and watch the cables and the gate saver as it moves, because all tailgate gaps are different and there is limited adjustment.
Option B — 1967-72 tailgate saver with stock latches
Disclaimer: use your own judgment on the weight applied to your tailgate when using this option.
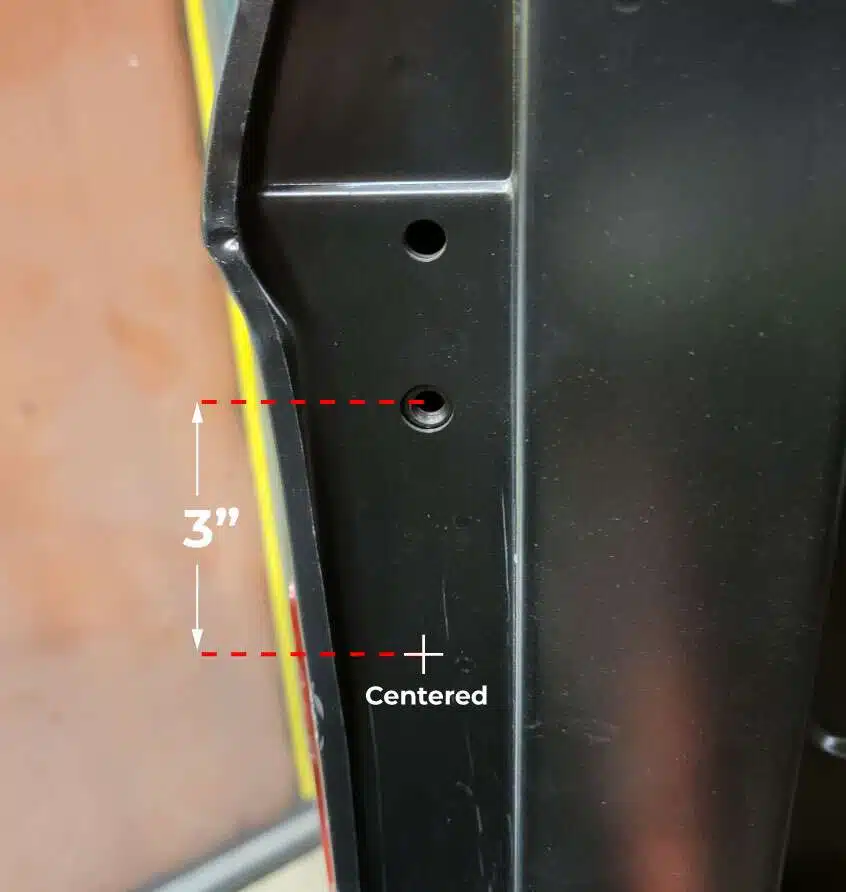
- Drill the mounting hole. On the driver side inner box panel, drill a 5/16″ hole 3″ down and centered from the lower stock tailgate latch bolt hole.

- Next, mount the support bracket. Take the longer of the two ball studs with a thick washer and the LS Fab support bracket. Install the ball stud and washer in the hole of the larger end of the bracket. Then bolt the assembly to the box side where you just drilled, with the supplied jam nut and the small end of the bracket facing down. Once it is tight and straight up and down, drill a second 5/16″ hole and install the supplied button head bolt and jam nut.
- Position the jam nut. The low-profile jam nut goes behind the taillight opening (apply blue thread locker).
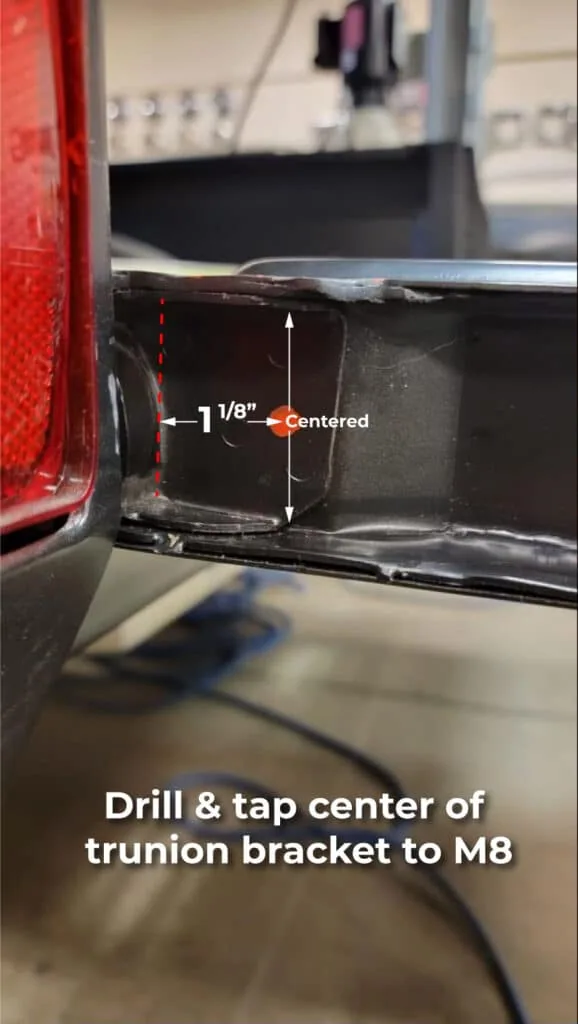
Fit the strut
- Drill or rivnut the bracket hole. On the lower portion of the tailgate trunnion bracket, drill and tap an M8 hole, or use the supplied M8 rivnut instead of tapping. The hole sits 1-1/8″ from the top edge of the bracket and centered.
- Insert the shorter ball stud with blue thread locker.
- Check clearance. The only clearance needed on the tailgate is where the Gate Saver shaft passes the bottom of the gate.
- Then remove material for clearance. If your tailgate has paint on it, take your time with an air saw or die grinder and touch up any bare metal edges.
- Attach the Gate Saver with the shaft pointed down.
- Finally, remove the driver side metal arm. On stock latch arms, remove the driver side metal arm to make clearance for the gate saver. Grind off the pressed rivet that attaches the arm to the latch. After that, the passenger arm supports the weight of the tailgate on its own.
Again, use your discretion on the amount of weight you put on the tailgate, because the gate saver only holds the gate itself. When you first close and open your tailgate after installing the gate saver, check clearances in all areas of close contact. Open slowly, and watch the cable and the gate saver as it moves. All tailgate gaps are different and there is limited adjustment.
Which option you use depends on your latches, so identify those first. If your gate still has metal straps, our 1967-72 tailgate cables guide and trunnion kit guide cover the rest of the rebuild. Trunnion kits, cables and billet tailgate letters for these trucks are in our 67-72 C10 truck parts collection.
For any questions or concerns with your install, don’t hesitate to email us at support@lsfab.com
Very nice product for sure. Very nice