















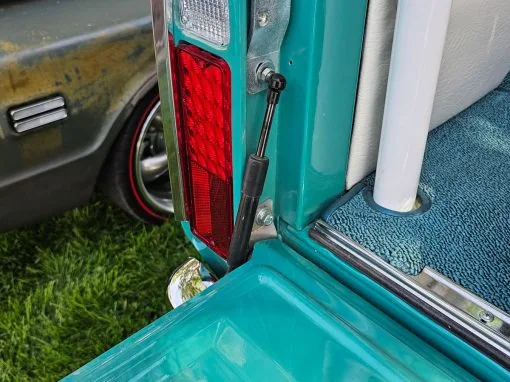
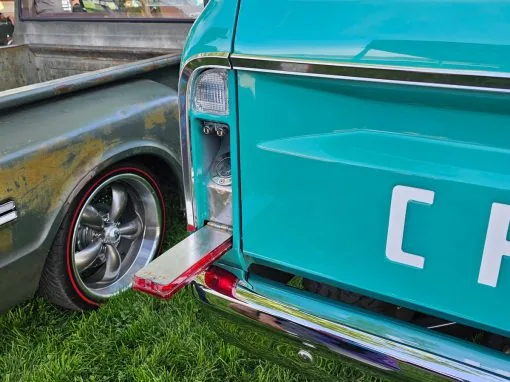
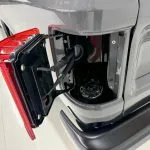



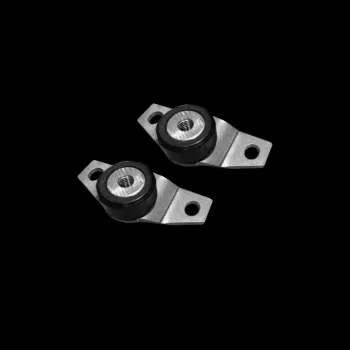
Fitting the stainless steel and Delrin Silent ‘Gate trunnion hinge set to a 1967-1972 Chevy or GMC fleetside tailgate — preparing the flange pockets, seating the Delrin bearings flush, and hanging the tailgate back on.
A 1967-72 tailgate trunnion that has worn oval lets the gate sag and bind. The Silent Gate set for 1967-72 trucks is a six-piece stainless steel and Delrin set that replaces the worn factory trunnions on both sides of the tailgate. Most of the work is in the preparation: a pocket that is clean and a bearing that sits flush are what give you a tailgate that drops smoothly instead of binding.
Tools you will need
- Sockets and wrenches for the factory trunnion bolts
- A hammer, for small adjustments to the flange
- A grinder or sandpaper, in case a Delrin bearing needs to sit deeper
- Anti-seize grease
- A second pair of hands to hold the tailgate
Prepare the tailgate
- Remove the tailgate. Take out the old trunnion bracket on each side and lift the gate off.
- Inspect the female flange pockets. These are where the new Delrin bearings sit. Clean out every bit of debris, paint build-up, dirt and heavy rust before anything goes in. A pocket that still has old paint in it will not let the bearing seat.
- Size it up before you commit. Offer the bearing up and see how it wants to sit. There are usually small adjustments to make.
Fit the 1967-72 tailgate trunnion bearings
- Line up the flats. Install the female Delrin bearing on each side of the tailgate with the flat edges running front to back. Those flats are what stop the bearing spinning in the pocket once the gate is in use.
- Adjust the flange if you need to. You may have to tap the flange on the inside of the tailgate slightly open or slightly closed with a hammer to get the fit right.
- Do not force it in tight. If the bearing goes in tight, the trunnion ball becomes very difficult to install and the tailgate will be stiff opening and closing. It should go in firmly, not crushed.
- Check it sits flush. The bearing should end up flush with the edge of the tailgate, or just below flush. If it stands proud, take it back out and sand the backside — the side with no bevel — with a grinder or sandpaper. The edges of the bearing can be sanded too if it needs to go in easier.
- Note which way the bevel goes. Depending on the tailgate, the beveled edge of the Delrin can end up inside the cup pocket or facing out. Either is fine. What matters is that the finished bearing is flush or just below flush with the tailgate edge.
Past damage to the tailgate or to the mounting area on the bed will change how easily this goes together and can call for extra work. No two of these gates are the same after fifty-odd years. Fit it the best way the parts in front of you allow.
Install the trunnions and hang the tailgate
- Use anti-seize. Stainless steel hardware galls against itself. Put anti-seize grease on the bolts before they go anywhere near a thread, whether you are reusing the factory hardware or upgrading to stainless.
- Install the stainless trunnion hinge assemblies and offer the tailgate back up the way it came off.
- Get help holding it. Have someone hold the tailgate in place while you start the bolts.
- Leave the bolts loose until the fit is right. Do not tighten anything all the way down until the gate opens, closes and sits the way you want it. Then torque it up.
Installation video
The manufacturer’s own walkthrough of the Silent ‘Gate trunnion set. Watch it on YouTube if you want it full screen.

Rebuilding the rest of the tailgate? Our tailgate cables guide, latch kit guide and tailgate saver guide cover the other parts. Cables, billet letters and latch kits for these trucks are in our 67-72 C10 truck parts collection.
For any questions or concerns with your install, don’t hesitate to email us at support@lsfab.com
Printable instructions
The illustrated version of this guide, ready to print for the shop.
0 Comments