















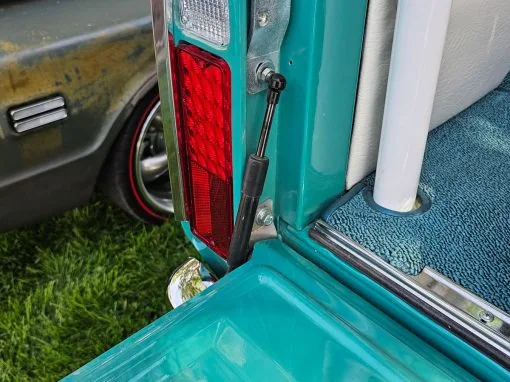
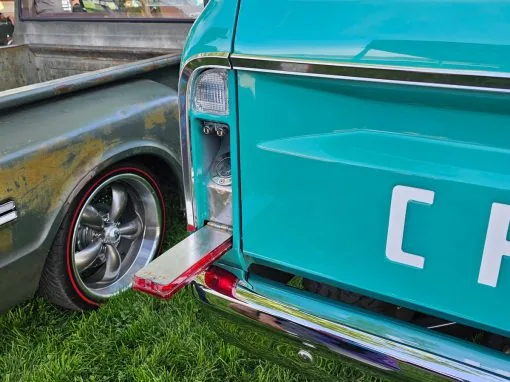
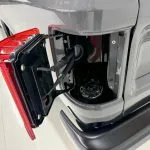

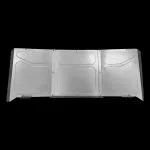


A full walkthrough of fitting the tailgate latch kit to a 1967-1972 Chevrolet or GMC C10 — trimming the tailgate from the supplied templates, setting the nutsert, and adjusting the strikers on the bed side.

The 1967-72 tailgate latch kit swaps the factory latches for bear claw latches, and it needs no welding. Chris Lange installs the no-weld latch set for 1967-72 C10 trucks from start to finish in the video above, and you can watch it on YouTube at full size. The written steps below follow the same order, so you can work along with the video or use them on their own.
Tools you will need
- Allen keys, sockets and wrenches
- Drill
- Die grinder with a zip disc
- Air saw — a die grinder on its own will do the job, it just takes longer
- Marker, and masking tape if the tailgate is painted
- Nutsert tool if you have one. The kit includes a bolt and nut you can use instead
What is in the 1967-72 tailgate latch kit
- (2) latches
- (2) raw steel tailgate latch mounts
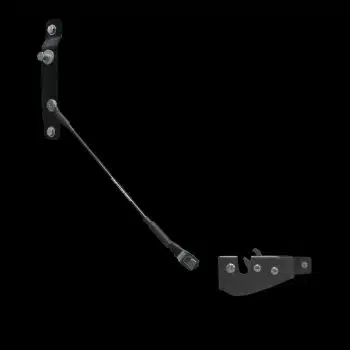
- (2) raw steel bed bracket and cable mounts
- (2) tailgate cables
- Templates
- Mounting hardware. Your factory latch hardware is still required.
1967-72 tailgate latch kit install steps
Work one side at a time, because the 1967-72 tailgate latch kit is handed and the two sides are not interchangeable.
- Strip the tailgate. Unless you are starting with a new tailgate, remove all the factory latches, straps and hardware first.
- Cut out the templates. The kit comes with a template sheet. Cut the individual templates out before you start marking anything.
- Mark the first cut. Lay the first template along the top edge of the tailgate and line up all the notches. Trace the material that needs to come out with a heavy marker. If the tailgate is painted, tape it off first and work slowly.
- Remove that material. A die grinder with a zip disc cuts it out cleanly.
- Place the second template. Peel it off the paper and set it on the tailgate. Cut the lines with an air saw, drill out the centre, then clean the opening up with the die grinder. With a die grinder alone, take your time.
- Test fit the latch before you call the cut finished. The opening has to clear the latch body and the spring, and both have moving parts. In this install more material had to come out than the template marked, and the extra clearance was needed low down for the spring. Check both sides.
Setting the nutsert
- Bolt the latch to the plate. Use an Allen key and the stainless bolts to fasten the plate to the latch, then a larger Allen key to tighten the assembly to the tailgate.
- Mark and drill the nutsert hole. With the latch and plate held in position, mark the hole, remove the assembly, then drill it.
- Set the nutsert. Thread in the supplied bolt, tighten the nut against it and the nutsert pulls up and flares its serrated edge. A dedicated nutsert tool does the same job faster.
- Protect the bare metal. Prime the cut edges so they do not start rusting, and touch up any paint you have gone through.
- Fit the latches. Install them with your factory rods, checking the rods point the right way for the handle before you push them into place.
Bed side strikers
- Mount the bed side plates. Start the striker bolt in the slotted hole and set it roughly in the middle, then install the top bolt using the provided hardware, again centred in its hole. Both holes are oversized so there is plenty of adjustment left.
- Drill the bottom hole and bolt the plate down.
- Repeat on the other side, then close the gate and fine tune the striker positions until it latches cleanly on both sides.
Tailgates vary. Test fit the latch against the opening before you finish the cut, and expect to open the template outline up a little for the spring. It is easy to take more away and impossible to put it back.
The factory alignment pin can be removed at this stage if you want a smoother look, but it is optional and it is not part of the kit.
The latch kit is one part of a tailgate rebuild. Our trunnion kit guide and tailgate saver guide cover the other two jobs, and cables, savers and trunnions for the same trucks are in our 67-72 C10 truck parts collection.
For any questions or concerns with your install, don’t hesitate to email us at support@lsfab.com
0 Comments